...
- Select from the Fredonia VPN client service drop down the Windows software installation package to download the FortiClient-windows-64-fredonia installation package.
NOTE: This software installation package is for 64-bit Windows operating systems. Android and iOS users will need to install this client directly from their app stores. ***NOTE: ALL university owned laptops should have the FortiClient VPN service already installed on the machine.***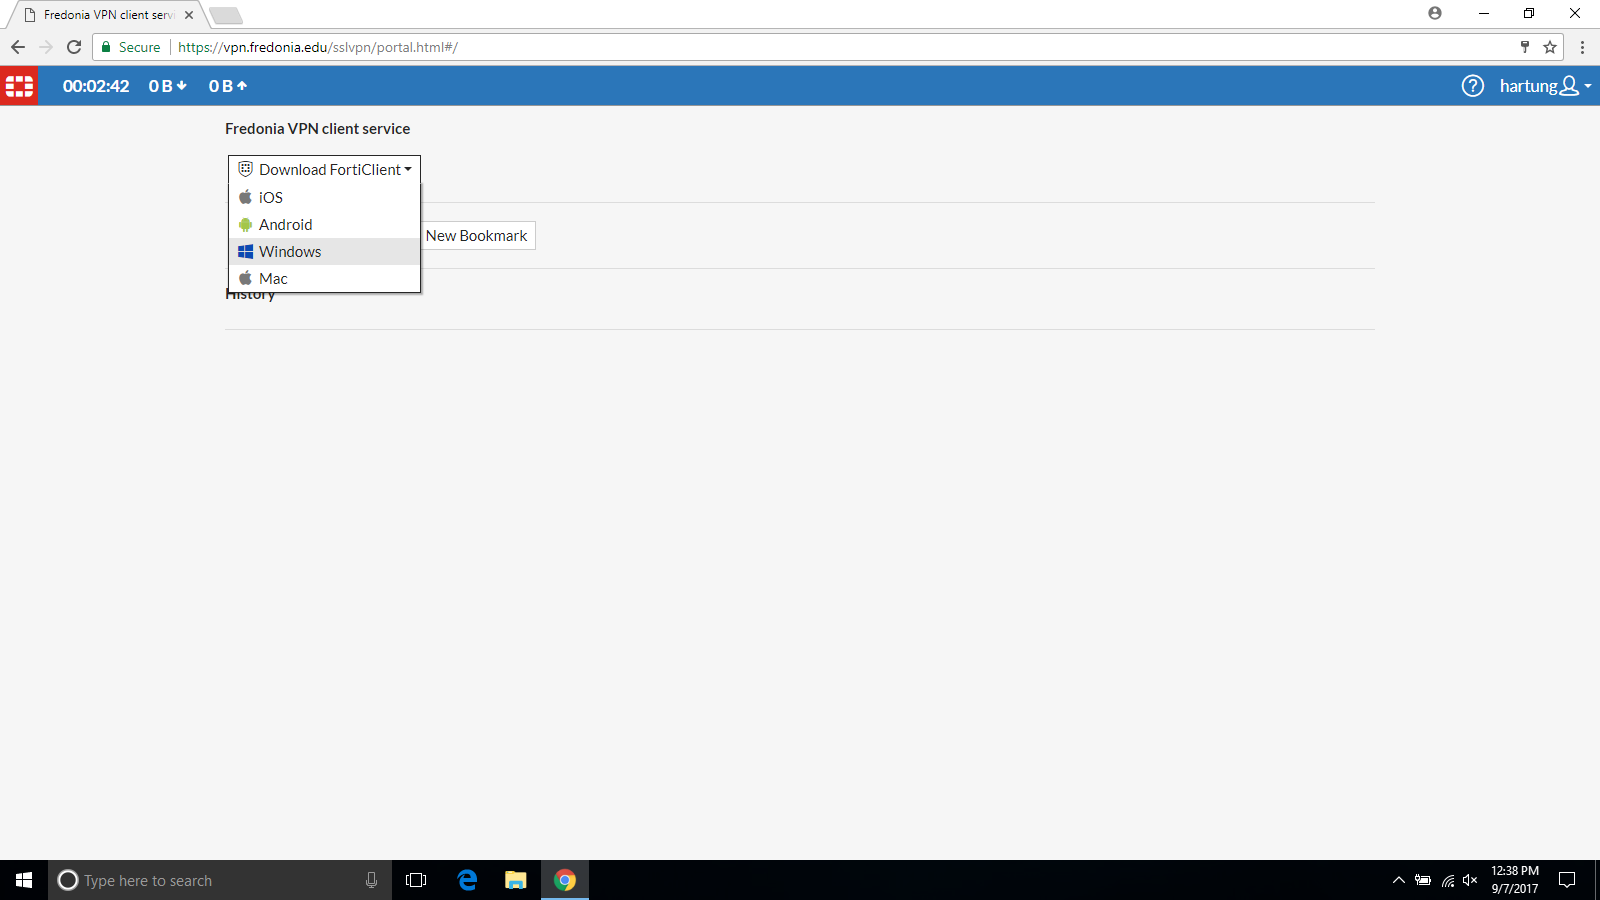
- Next, find the FortiClient-windows-64-fredonia installation package and double click the Application file to run the installation.
NOTE: You will need local administrative priviledges on the computer you are installing the Fredonia FortiClient-windows-64-fredonia installation package on.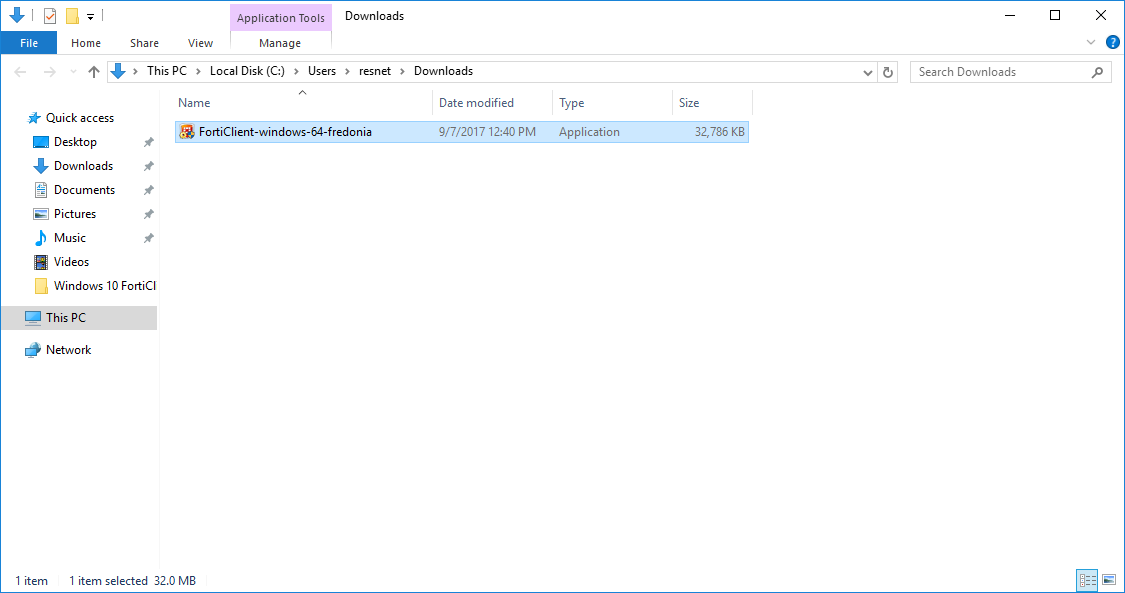
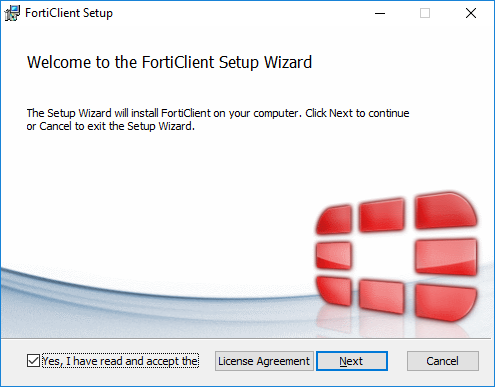
- Check that you have read and accept the License Agreement and click Next.
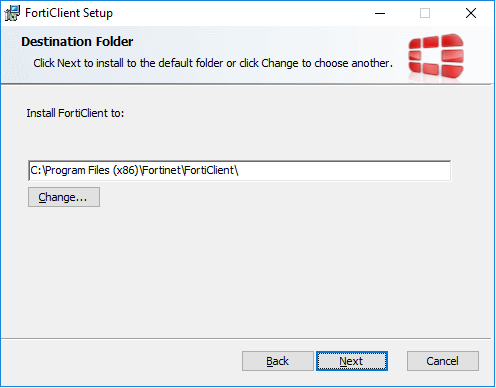
- Click Next.
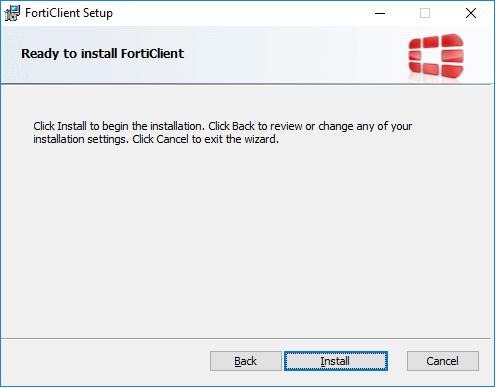
- Click Install.
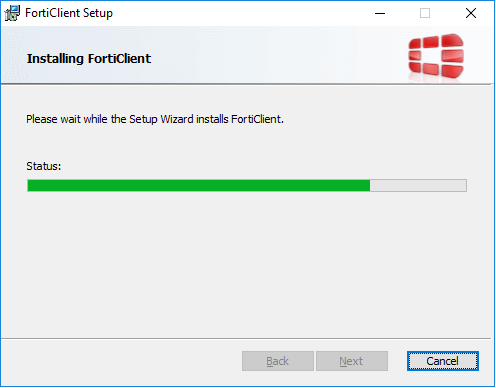
- Click Finish.

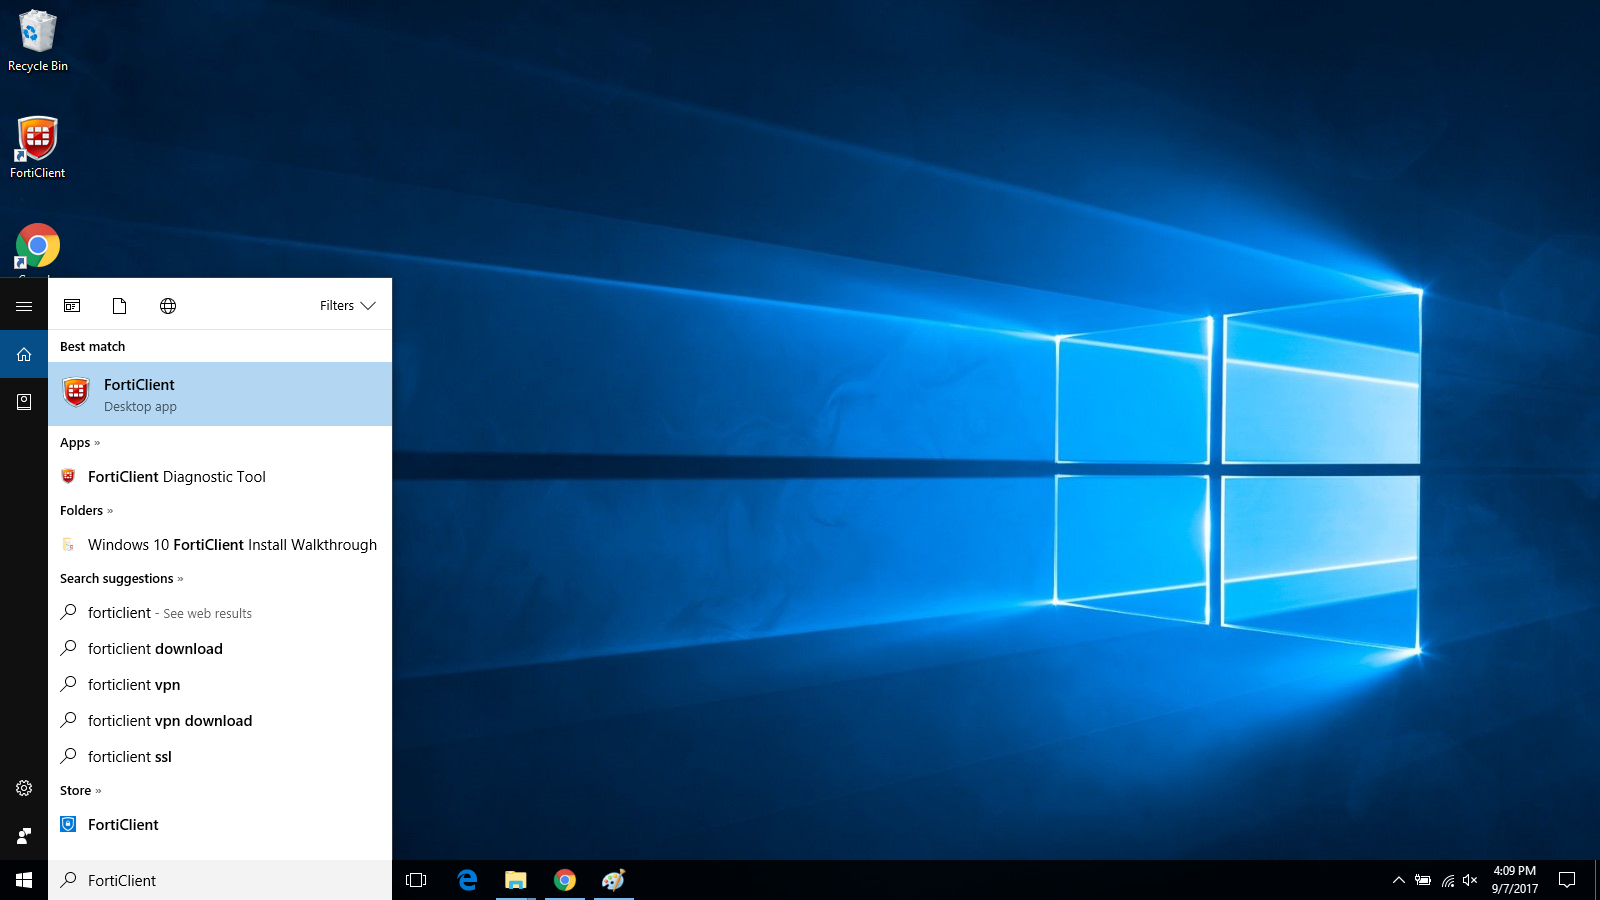
- Find the FortiClient application and double click on it to open it.
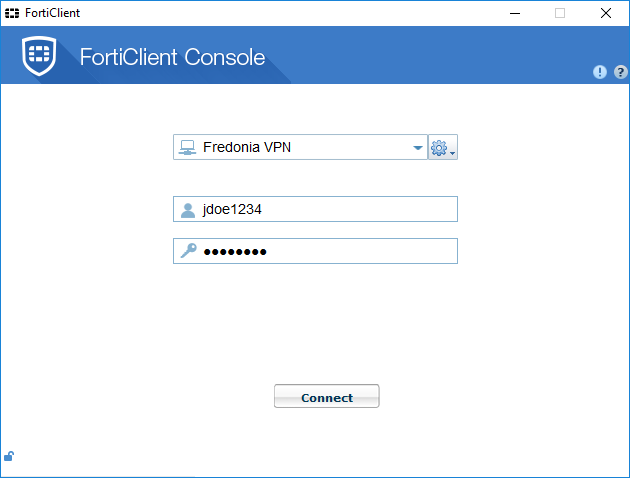
- Log in the Fredonia VPN by entering your eServices User I.D. and password then selecting Connect.
- Find the Remote Desktop Connection application and double click on it to open it.

- Click Show Options.

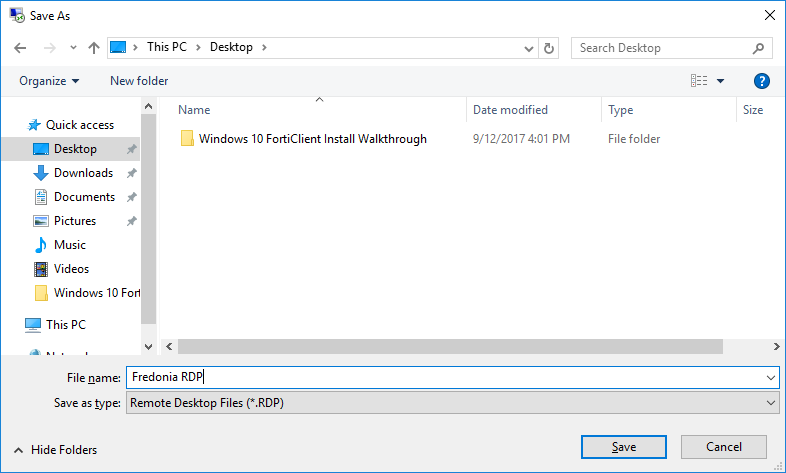
- Setup a Remote Desktop Protocol session to your Fredonia computer workstation. Click Save As... to create a shortcut to the connection on your desktop.
NOTE: Your eServices account will need to be added to the Remote Desktop Users group on your Fredonia computer workstation.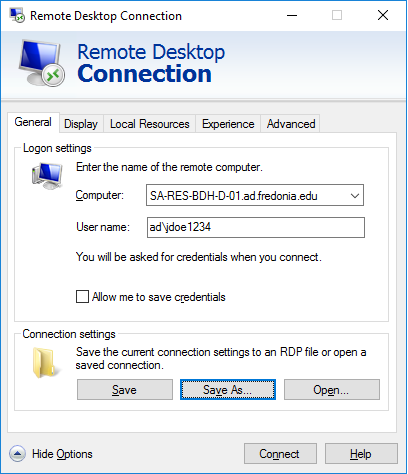
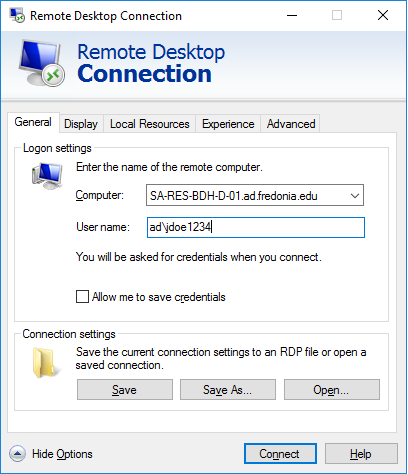
- Click Connect.
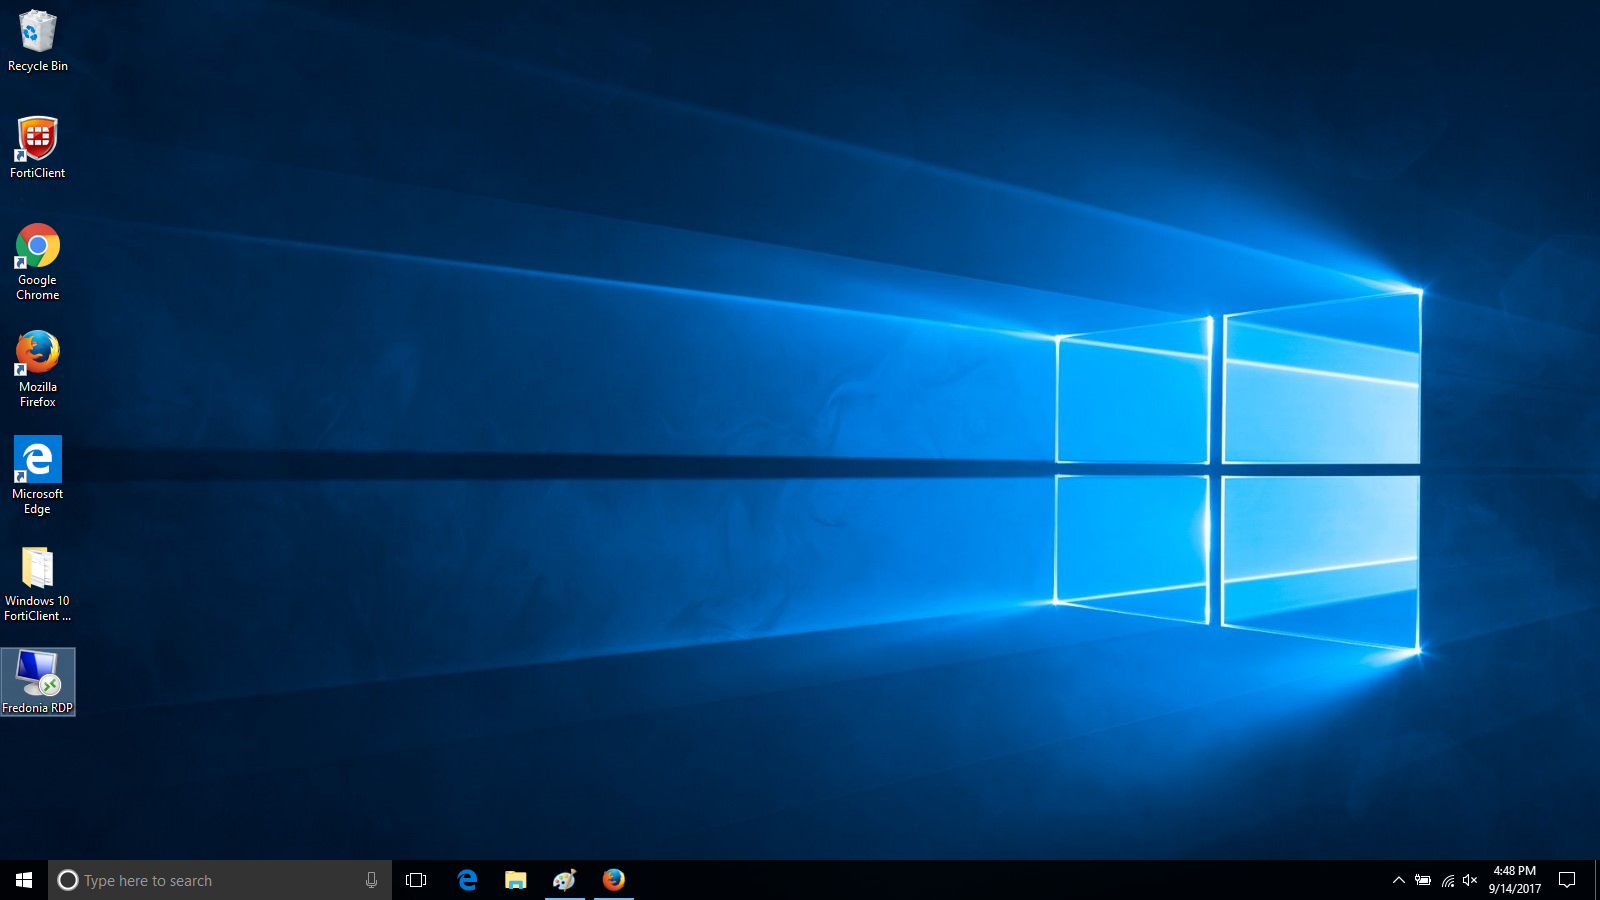
- Once you have ended your session, you can get back in the next time by simply double clicking on the shortcut you created after logging into the VPN Service.
Short URL to this page:
...
| Live Search | ||||||||
|---|---|---|---|---|---|---|---|---|
|
...