Before you upload and add any files to the Drupal web server, you must rename them if they contain any blank spaces or special punctuation characters.
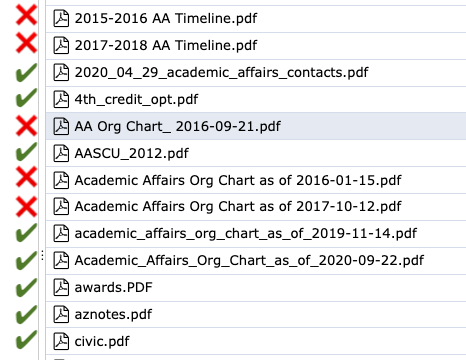
Only OK to use these in a filename:
A-Z, a-z, 0-9, hyphens -, periods, and underscores _Good filenames marked with a green check and bad file names marked with a red X.

If you are replacing an existing file that is already on the web site, please make sure that the new file name exactly matches the old filename before uploading. It must have exactly the same characters and same uppercase and lowercase letters. This will cause the new file to directly replace the old file, using the following steps, below.
Navigate to your website. Look at the breadcrumb at the top of your page to determine the path to your web site files.
All file paths begin with "section" then follow the steps shown in the page breadcrumb
In this example below, the file path will be section > about > offices > marketing-and-communication > training which you will use in the next step.

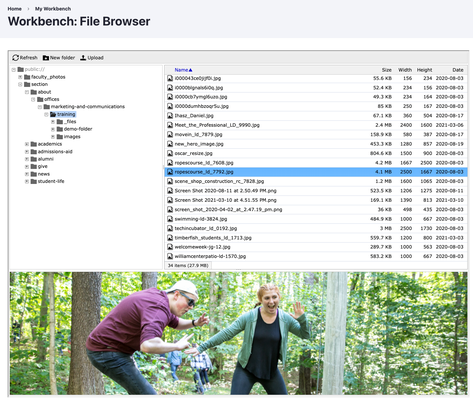
In the top Drupal menubar, click on Workbench, then click on File browser.


A page should appear that looks like this: https://www.fredonia.edu/admin/workbench/file-browser


You may need to navigate to your website files using the breadcrumb path that you found in step #2.
The path should appear in the left side of the File Browser window.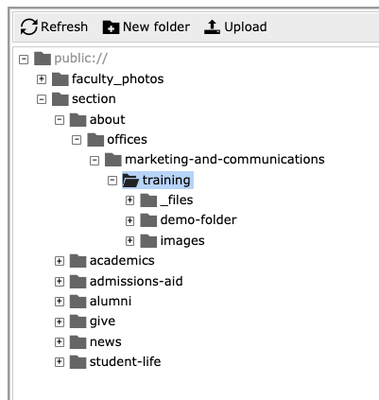
Click Upload. The green Add File button will appear.
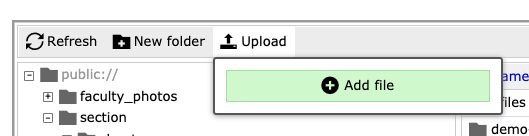
Click the Add File button and browse your computer to choose the file you wish to upload to the server. Click Open to send the file to the server.

To link to your files, see: Drupal 8: Linking to a PDF, Word, Excel, or other MS Office files
Page Comparison
Manage space
Manage content
Integrations