Creating Teams or Groups in OnCourse
How do I divide my course into teams or groups?
Step-by-step guide
- Log in to OnCourse
- Access the course you would like to create teams in
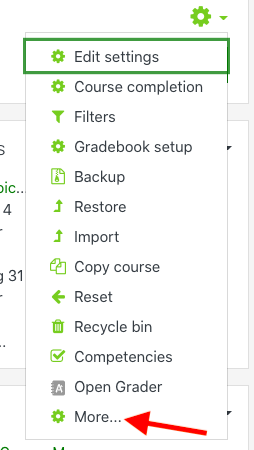
- Locate the green gear icon on the upper right hand side of the page. Click on the drop-down menu and select More.
- Click the User tab to expand the options and click the Groups link.

- Press the “Create group” button.
- Give your group a name, press the “Save changes” button.
- From the Groups field, select the name of your group by clicking on it once.
- Under the “Member of” field, press the “Add/remove users” button.
- Select a student to add to the group and press the “Add” button.
- Repeat until all students are added to the group.
After finishing, press the “Back to groups” button.
Creating Groupings
Groupings take the existing groups and associate them together so that OnCourse knows how to give permissions to the assignments they are being used for. For example, If you are planning small group discussions for a class of 40 students, you can create four groups of ten, put the 4 groups into a grouping, and assign the grouping to a Forum. This will allow each group to see only their own discussion, but all inside a single Forum.
- Access the course you would like to create teams in
- Locate the green gear icon on the upper right hand side of the page. Click on the drop-down menu and select More.
- Click the Users tab and then choose Groups
- Click the Groupings tab and then the “Create grouping” button
- Enter in a “Grouping name.” Consider using the assignment name as the grouping name, and then press “Save changes.”
Add Groups to a Grouping
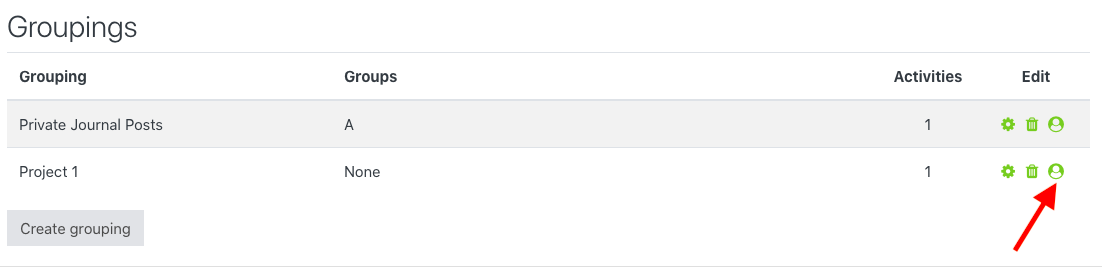
- On the Groupings page, press the icon resembling a person.
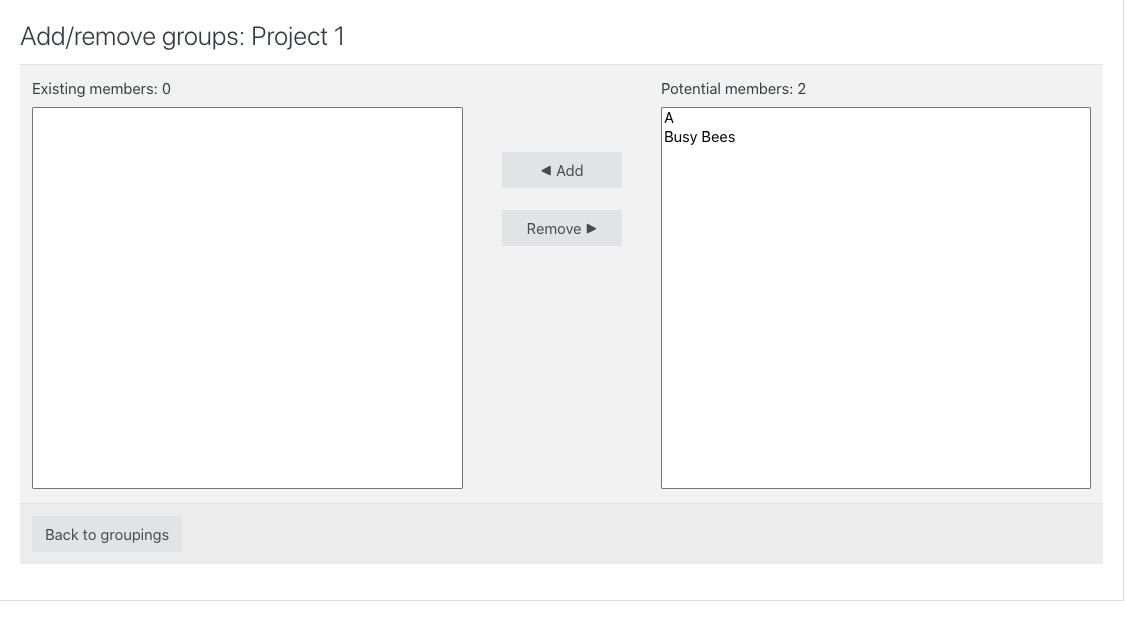
2. The page will refresh and bring you to the screen where you can add your groups to the selected grouping. Highlight the group on the right side of the screen and press the Add button to add groups to your grouping.
Applying a Grouping to a Forum
Now that the Grouping is created it can be assigned to many places, but the most common use is in a Forum. The settings for each OnCourse tools will be about the same, but below are the directions for Forum.
- Open the Forum
- Click the drop down arrow to the right of the gear icon, and choose "Edit Settings"
- Locate and expand the section labeled "Common module settings"
- In the "Group mode" drop-down menu choose "Separate groups." Separate groups will allow the instructor to see all posts, but the students will see their own posts and those post from students in their group.
- In the "Grouping drop-down menu chose the name of the grouping you created in the steps above.
- Press "Save and return to course" to return to the main course screen or "Save and display" to return to the Forum.
Hints:
- To select multiple student to add to a group, hold down the “Ctrl” key and click on each student name. Once the names are highlighted press the “Add” button
- If two courses are being merged, groups can be created during the merge process. Directions for this are here: https://goo.gl/7yFtWd.
Resources:
- Information on creating groups from Moodle.org can be found at https://docs.moodle.org/39/en/Groups
Related articles