Manually Setup your Wired Network for Windows 7/8
Please contact the ResNet Office at anytime if you feel that you need help with any of this.
Please find a PDF of these directions here.
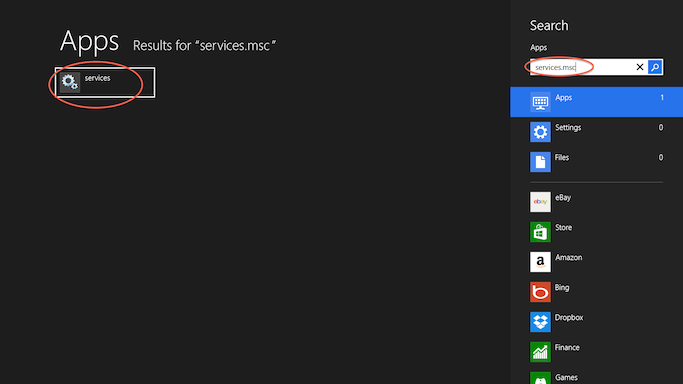
- Press the "windows key", type "services.msc" in the text area and press "enter." (picture will look different for windows 7)

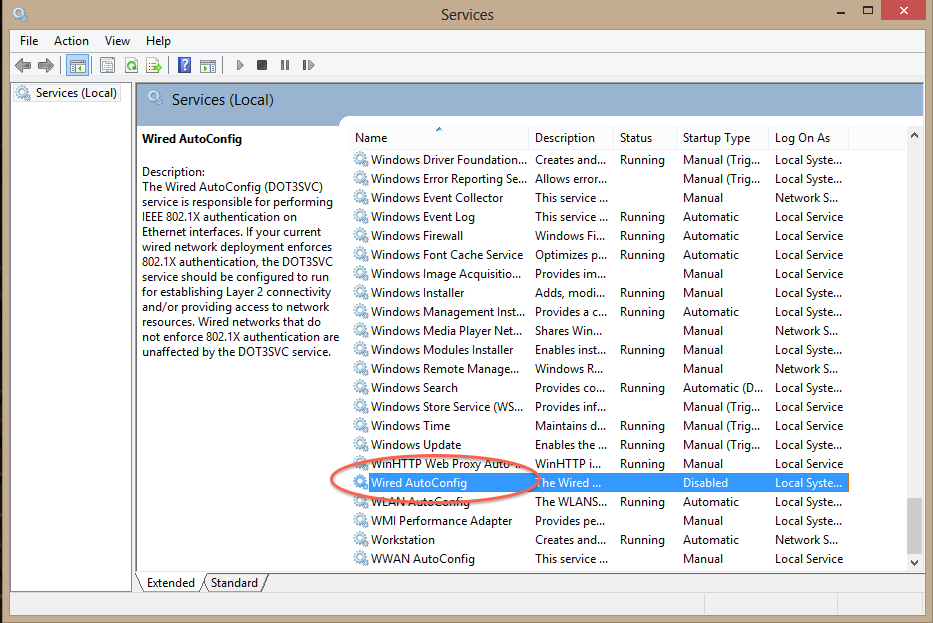
- Scroll down until you see "Wired AutoConfig", RIGHT click on it and select "Properties"

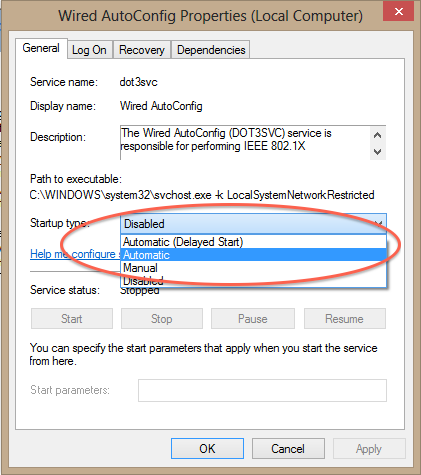
- Set the "Startup Type" to "Automatic"

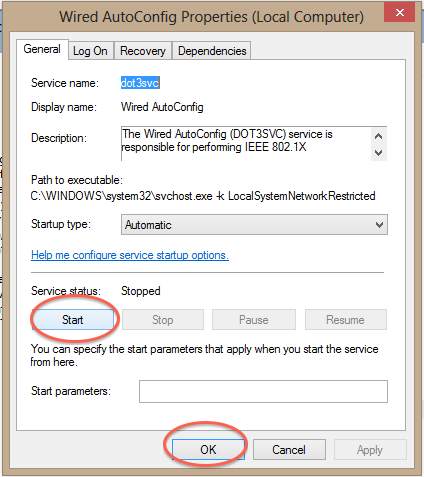
- Click on the "Start" and then "OK"

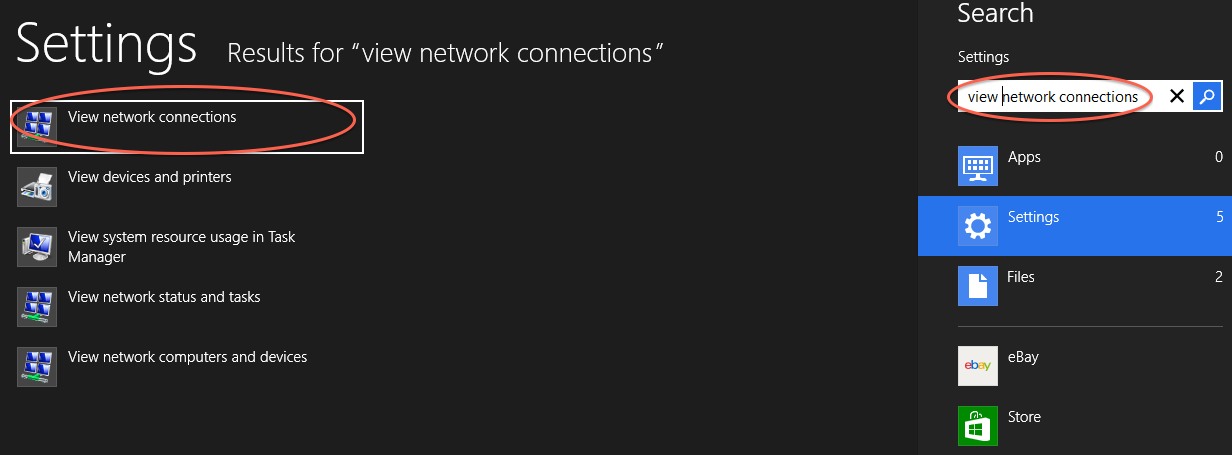
- Press the "windows key" and type in "View Network Connections" and press "Enter" (picture will look different for windows 7)

- Right click on "Ethernet" (for Windows 8) or "Local Area Connection" (for Windows 7)

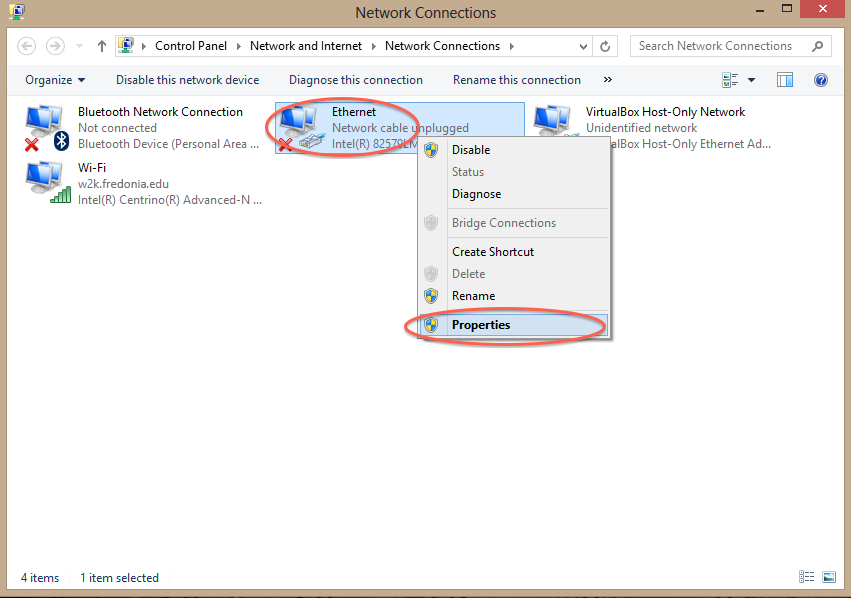
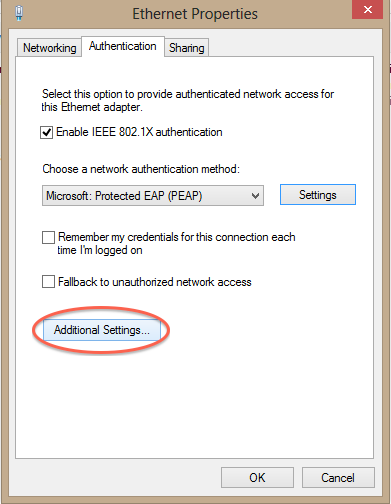
- Click on "Properties", then click the "Authentication" tab at the top of the resulting window.
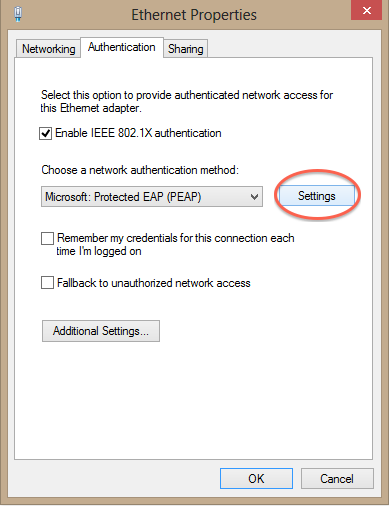
- Check "Enable IEEE 802.1x authentication" and select "Microsoft: Protected EAP (PEAP)" from the drop down box


- Click on "Settings"

- Uncheck "Verify the server's identity" and select "Secured password (EAP-MSCHAP v2) from drop down

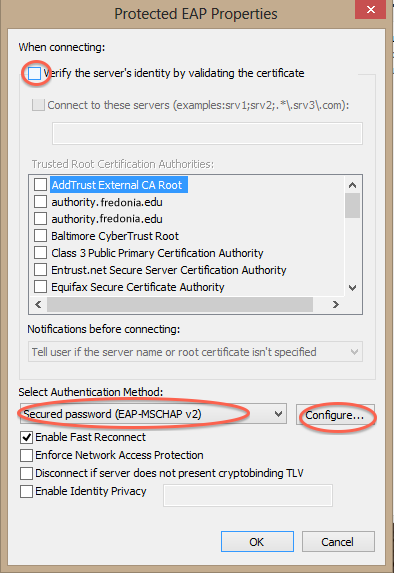
- Click Configure
- Uncheck "Automatically use my Windows logon name and password" and click "OK

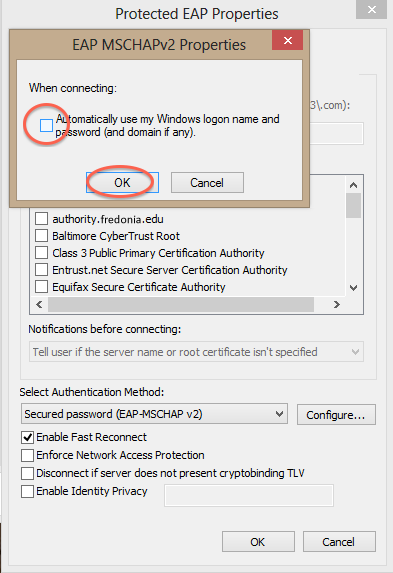
- Click "OK" again
- Click "Additional Settings"

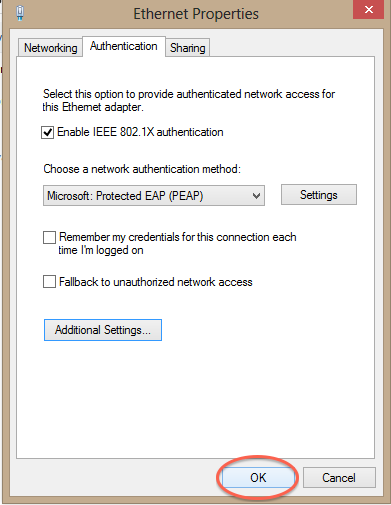
- Check "specify authentication mode" and Select "User authentication" from the drop down. Then click "OK"


- Click on "OK"

- For Windows 7, you should see a bubble appear. Click on it. For windows 8, skip this step.


- You should now be prompted with a "Network Authentication" window. Enter your Fredonia e-Services ID and password and click "OK"


- After a few seconds, your internet connection should work! CONGRATULATIONS!
- Press the "windows key", type "services.msc" in the text area and press "enter." (picture will look different for windows 7)
Short URL to this page:
...
| Live Search | ||||||||
|---|---|---|---|---|---|---|---|---|
|
...