- Logging Into the Drupal 8 website works the same as logging in with Drupal 7 by using your eServices username and password.
- See: Log into Drupal
- See: Log into Drupal
- When you are logged into Drupal 8 as an editor, you will see a black tool bar with white text and icons.

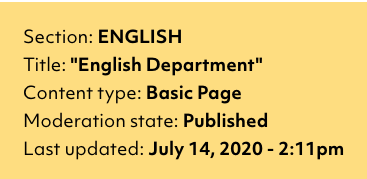
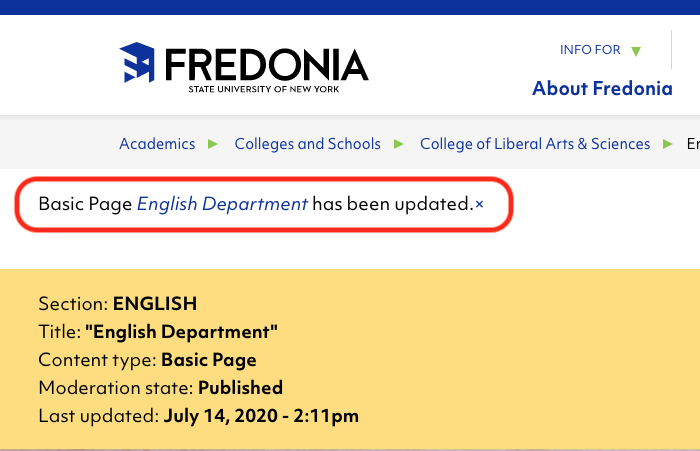
- The yellow info bar displays the essential details about each page:
- Edit a Page (for web pages you have permission to edit):
- Navigate to a page you can edit. When you are on an editable page, a blue Edit button appears in the lower right.
- Click on the blue Edit button to begin making changes.
- When editing a Drupal 8 web page your changes are now automatically saved.

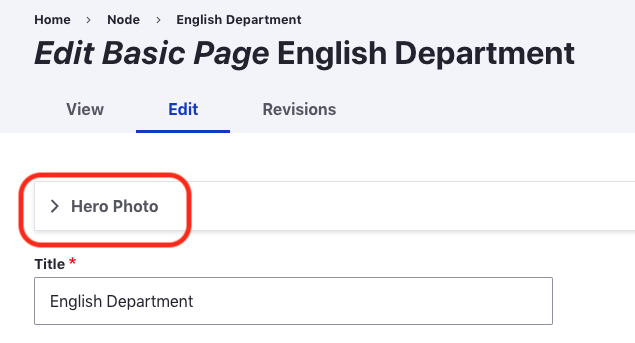
- IMPORTANT: The first time you edit a web page with a Hero Photo (the large photo at the top of the page), you MUST:
- Click on the Hero Photo section to open up the options.
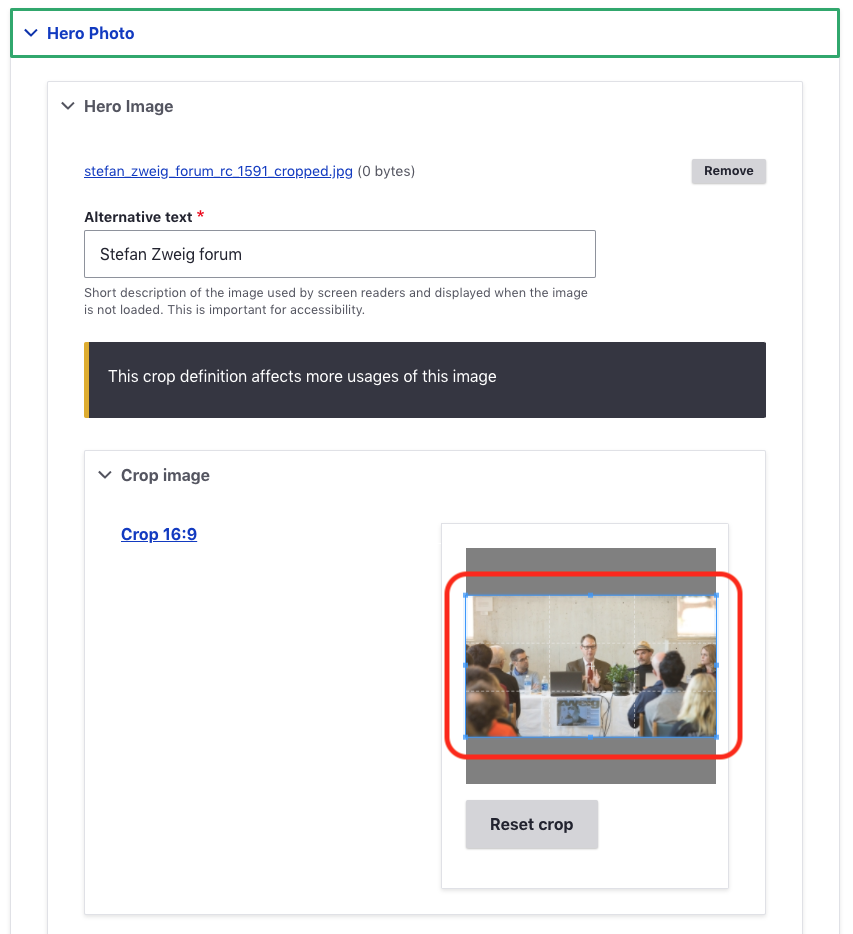
- Click on the image thumbnail once to apply the Crop 16:9 to the image.
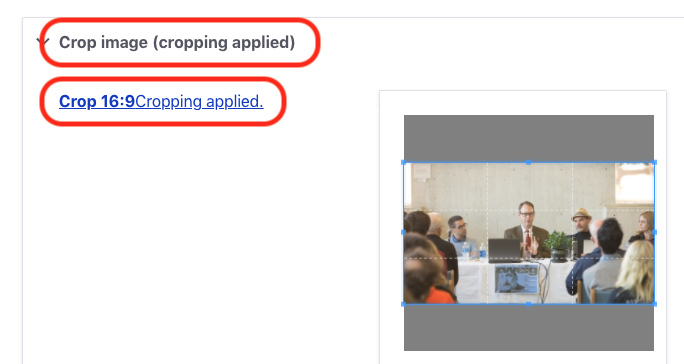
- When you click the Crop image thumbnail, you will see a "cropping applied" message in two places.
- Click on the Hero Photo section to open up the options.
- Edit your page Title, Intro Text, Body, Page Widgets.
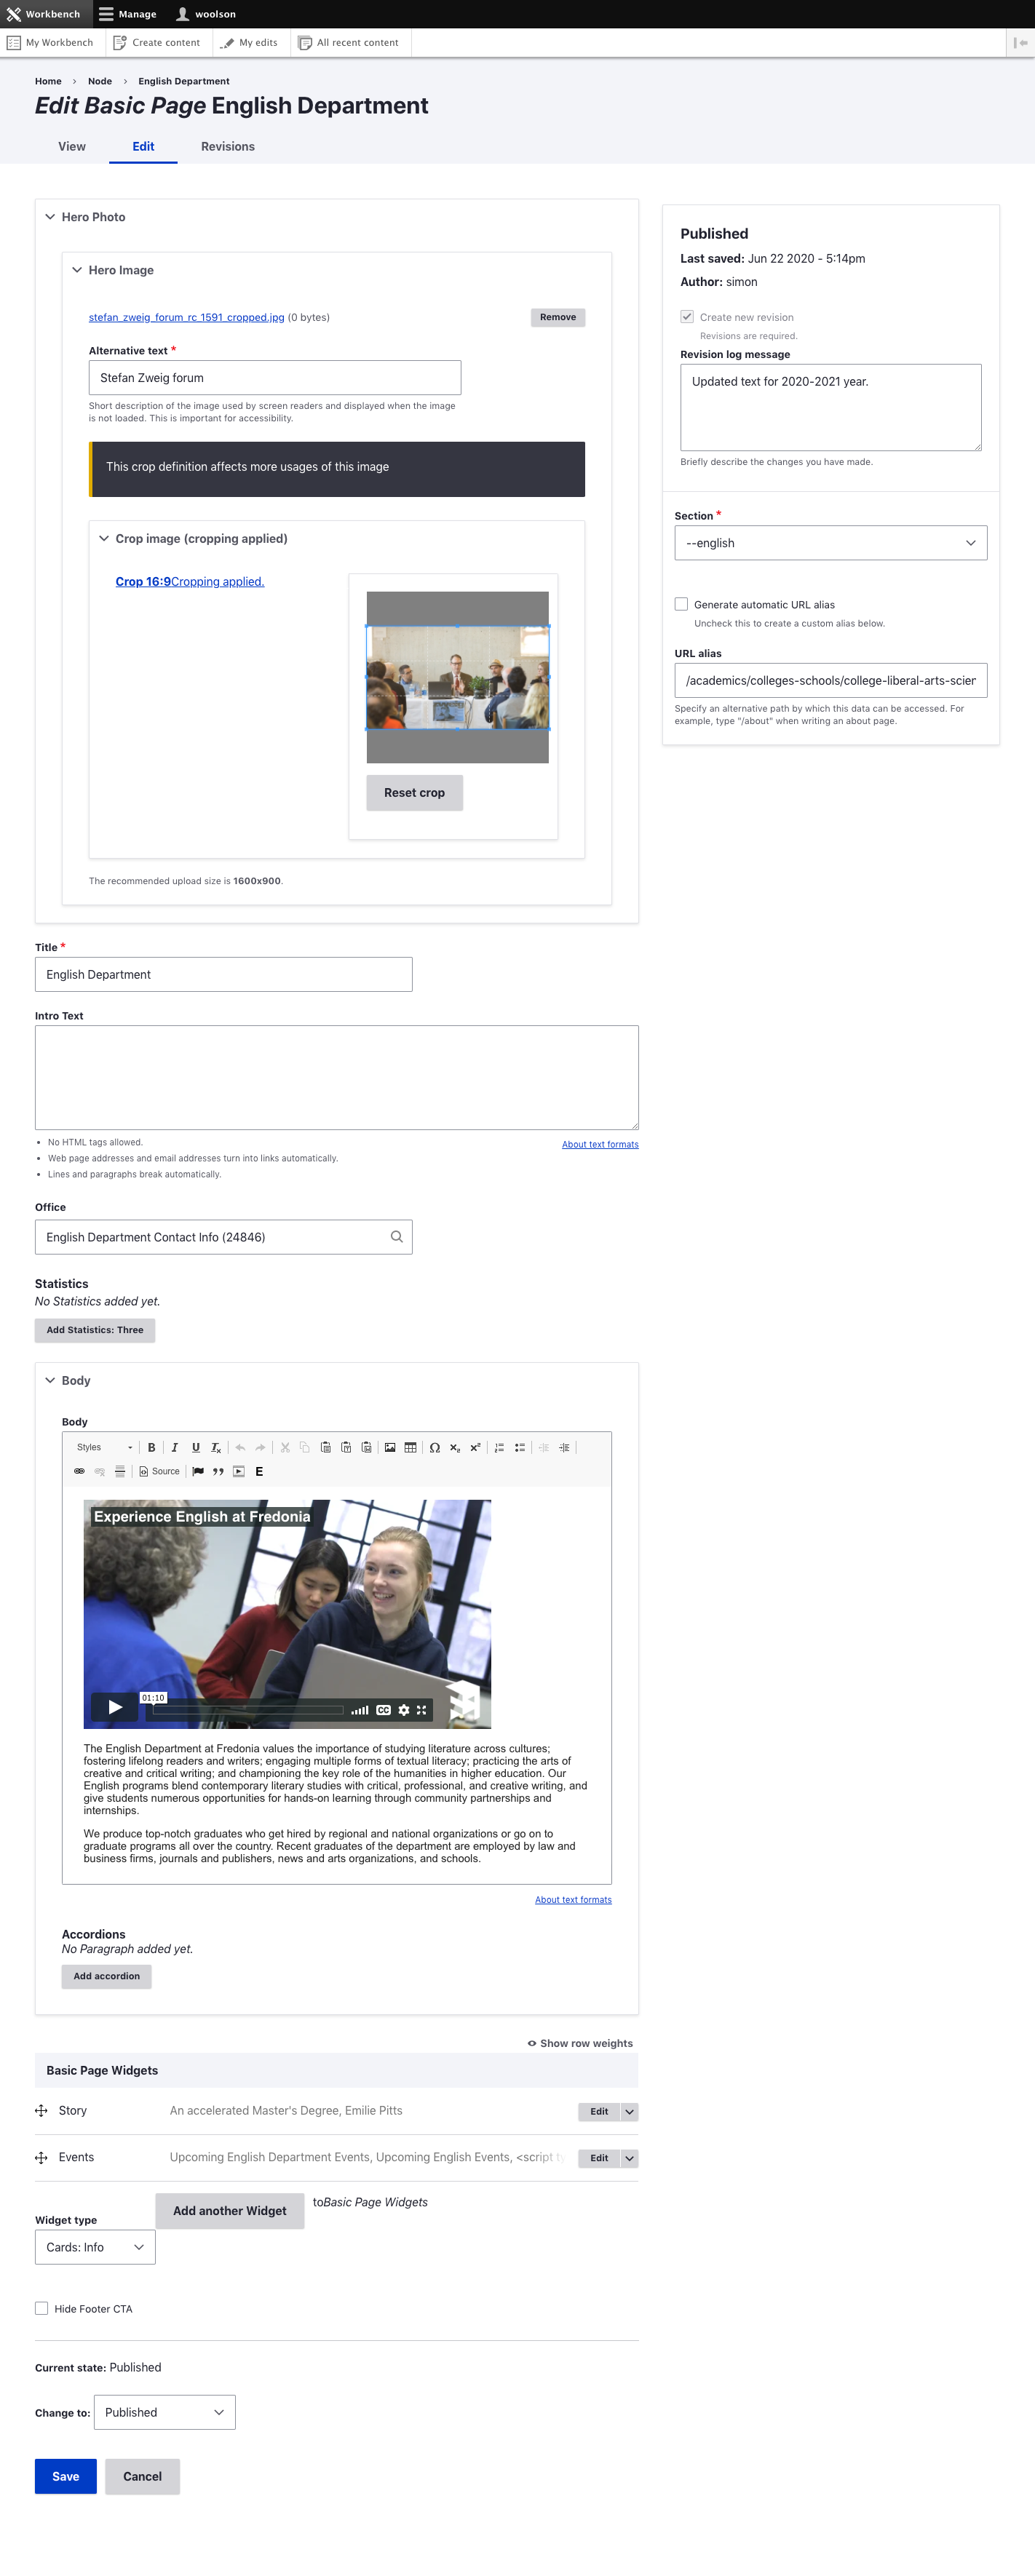
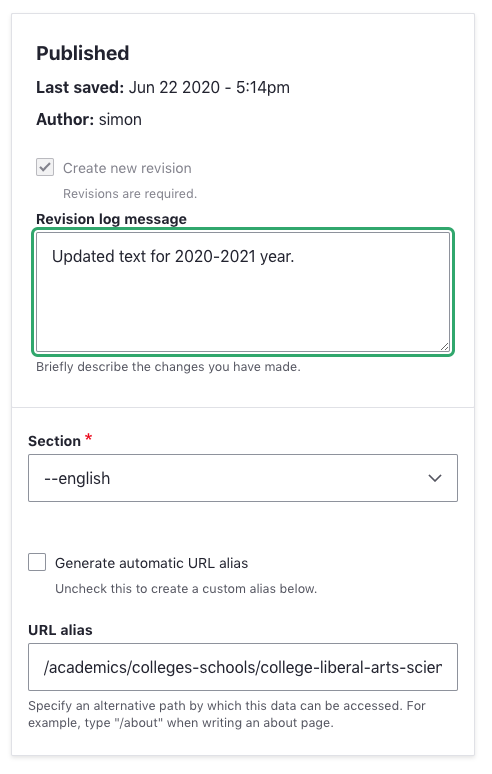
- Describe your changes in a Revision log message on the upper right, so that you can easily retrace your changes later, if necessary.
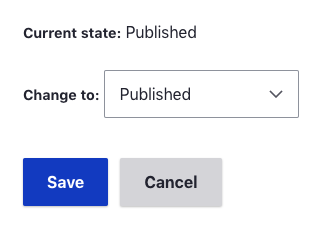
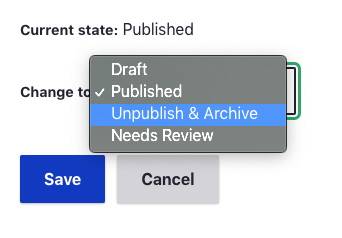
- When all your web page edits are complete, scroll to the bottom of the page.
- If you want to publish your changes to the page, check that the Change to menu is set to "Published" click Save.
- If you want to Unpublish the page (hiding it from the public), choose Unpublish & Archive from the Change to menu and click Save.
- After clicking Save, message appears to confirm that your edits were saved.
Manage space
Manage content
Integrations