Installing/Updating Zoom via Self Service for Campus Macs
How can I install or upgrade Zoom on my campus Mac?
Zoom should already be installed on all Faculty/Staff Mac computers. Any updates for Zoom can be carried out by utilizing the “Zoom Updater” policy. This can be found within the “Self Service” app on all campus owned Mac computers. If Zoom is not installed for some reason, you can install Zoom by running the “Zoom Updater” policy from the “Self Service” app.
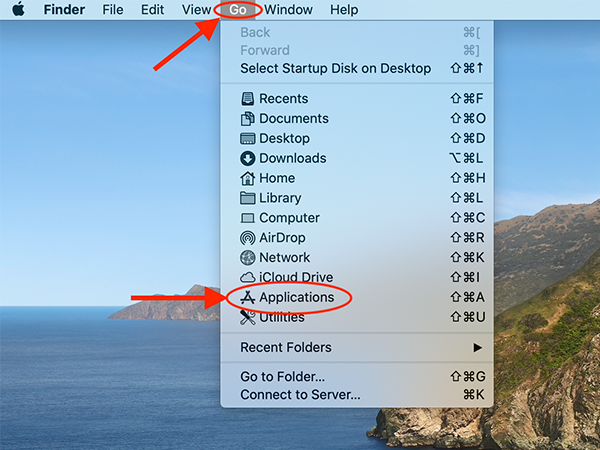
The “Zoom” app and the “Self Service” app can both be found in the “Applications” folder on the Mac (Finder > Go > Applications). You can get to "Finder" by just clicking on the desktop. Then click "Go" on the menu bar and select "Applications" from the drop-down menu:
You can also get to the “Zoom” or “Self Service” apps by opening a Spotlight search. This is done by clicking on the magnifying glass icon on the top right-hand corner of the menu bar. You can also click on the desktop then pressing the "Command" key and "Space Bar" key at the same time. Then, you simply just type Zoom or Self Service, press the "Enter" key, and select the app from the provided list. Here is an example of what a Spotlight search for the “Self Service” app looks like:

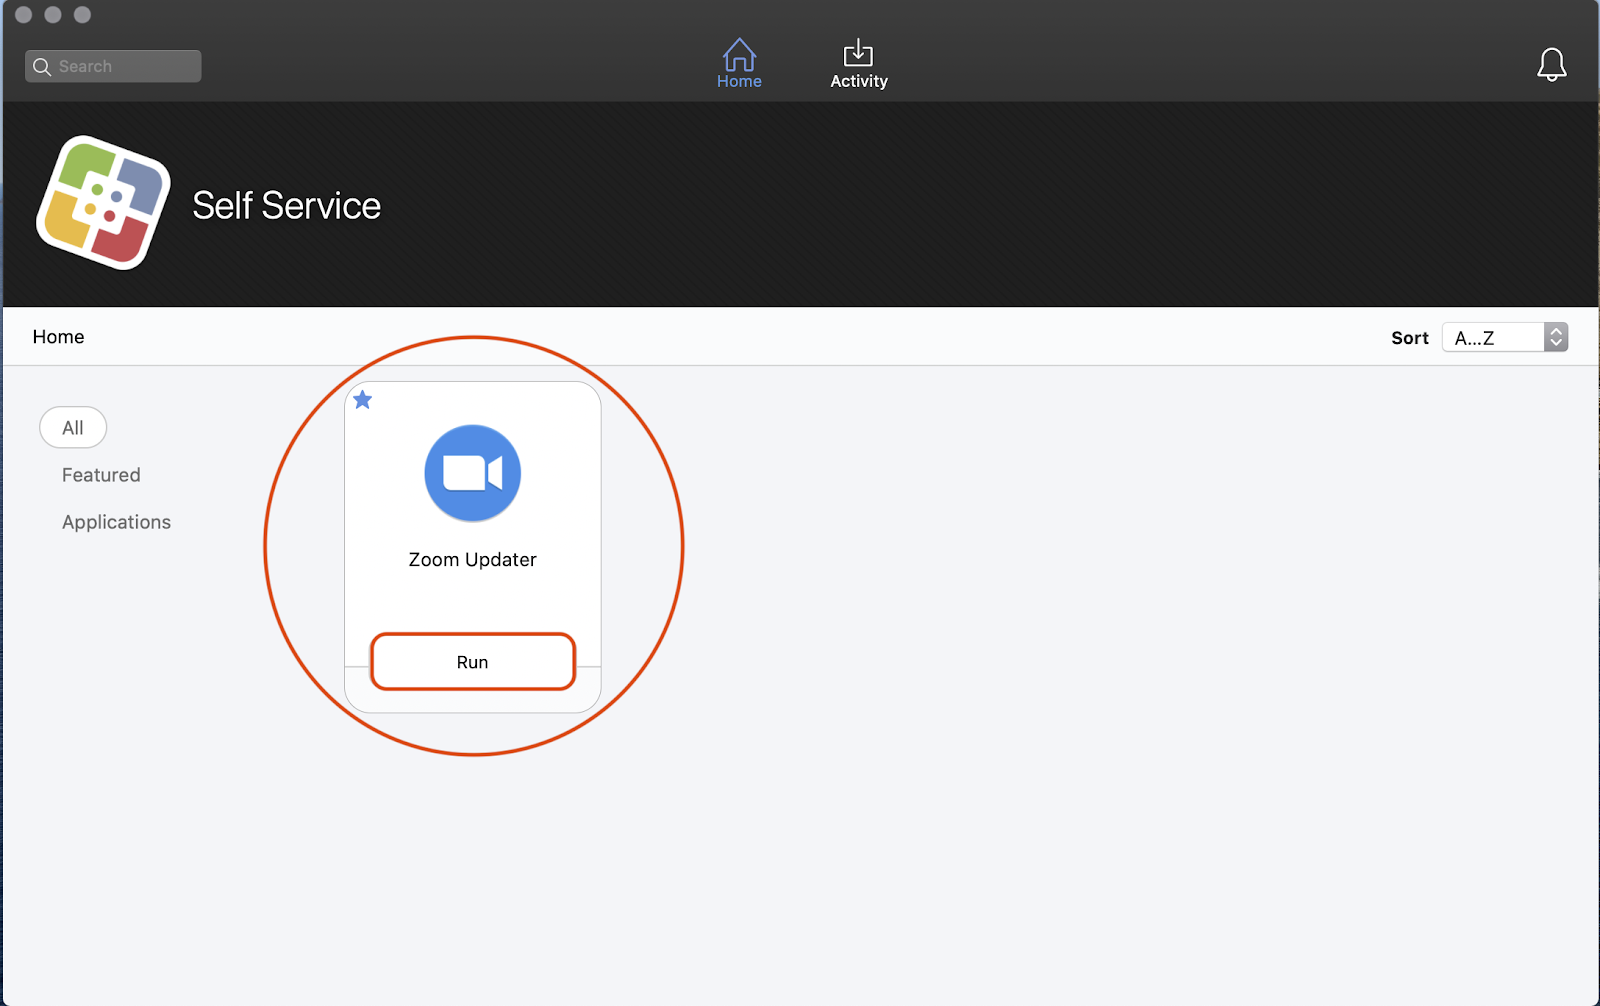
Once you launch the “Self Service” App, click the "Run" button for the "Zoom Updater" App to update or install Zoom:
Just repeat these steps when there's a Zoom update available.
Related articles