DESIGN: How to get your designs printed with the Fredonia Online Order Desk
When you have a poster, brochure, flyer, form, or something else that you need printed, this step-by-step guide will show you how you can print through Fredonia's new online system.
You can click on any images below to enlarge the image.
If you have any questions or concerns about the system, contact the Marketing and Communications office at (716) 673-3323.
Start by logging into the Fredonia Online Order Desk: https://www.myorderdesk.com/fredonia
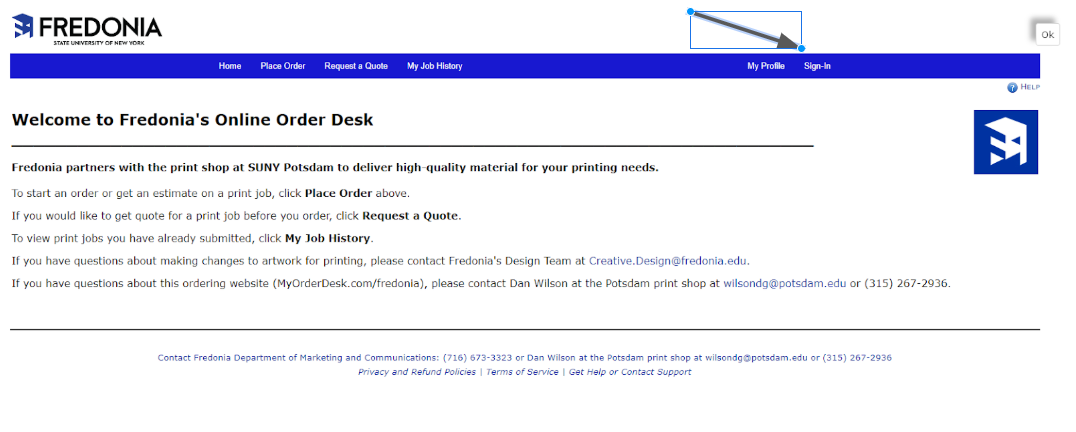
1). Select "sign-in" in the blue bar across the top.
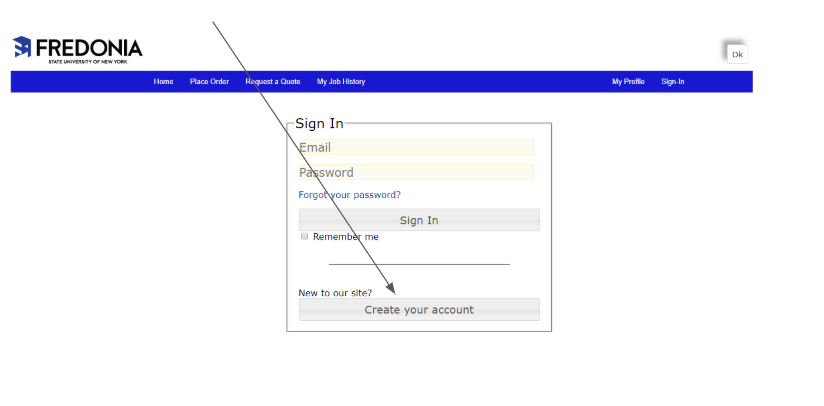
2). You will come to the log-in page. If you haven’t yet, create your account by clicking “Create your account” on the bottom. (if you already have an account, skip to step 4).
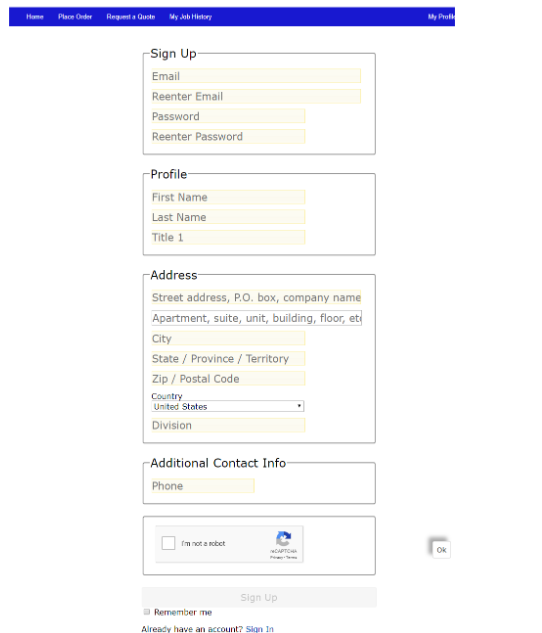
3). Fill out the form to complete your profile. *Please note: this program does NOT use single sign-on, so you will be creating your own log-in (use your Fredonia email address, then create your own password).
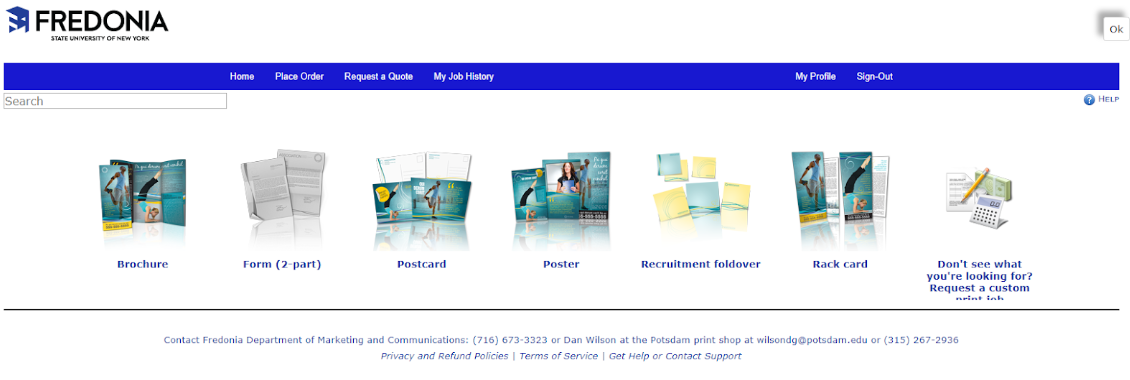
4). Once you login with your email and password, you will come to the main page. Select the type of print material you need (for the example, we will choose “postcard”).
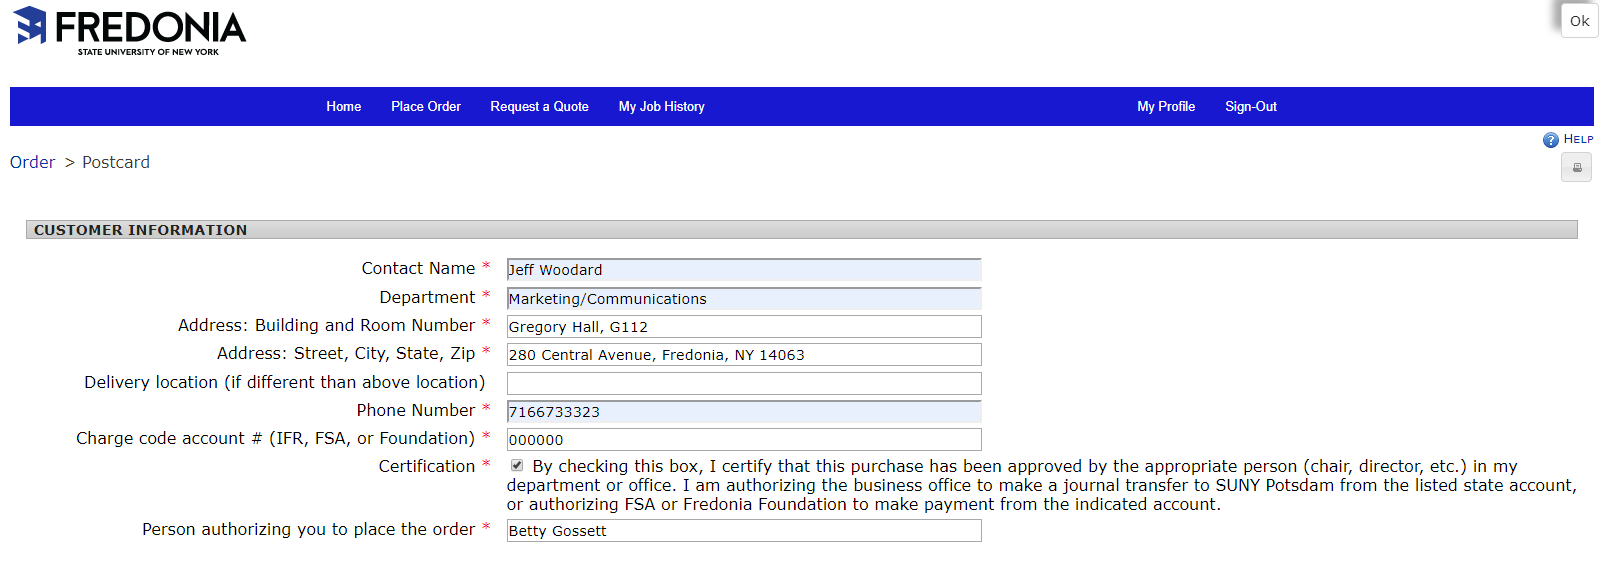
5). Fill out the form, starting, with contact information, including the complete shipping address. Enter your area’s charge code number (make sure it’s correct!). We ask for a check box confirmation that you have been authorized to place the order, under the supervision of the person’s name underneath.
6). In the middle section, give your project a name, and select the date you would like to have the product by (in most cases, it is a 1-2 day turnaround for print jobs through this process). Then select the quantity you need. (If the quantity you need is not available, skip to step 11). You’ll notice as you change your selection, the amount in the “total” field will change, so you will know the cost for that amount. We ask you to check the box so you are aware that shipping charges will be added to your order.

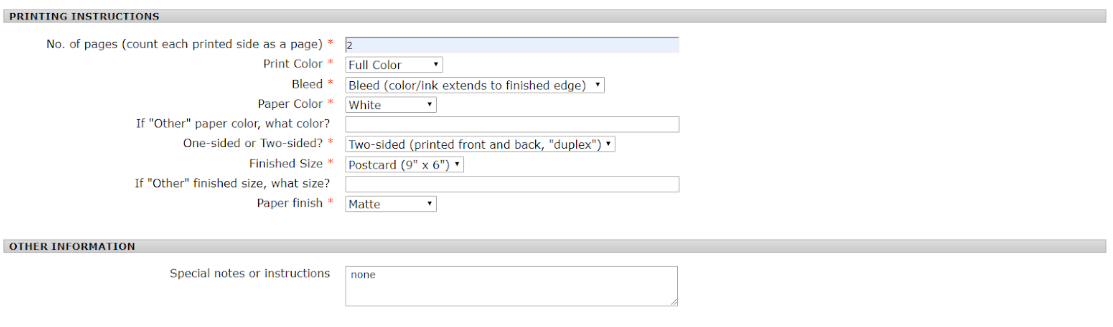
7). Below that, fill out the printing instructions for the job. If your content came from Marketing and Communications, the design team will give you the information so you can fill it out correctly. If you have any other custom information for the printer, you can write it in under “other information."
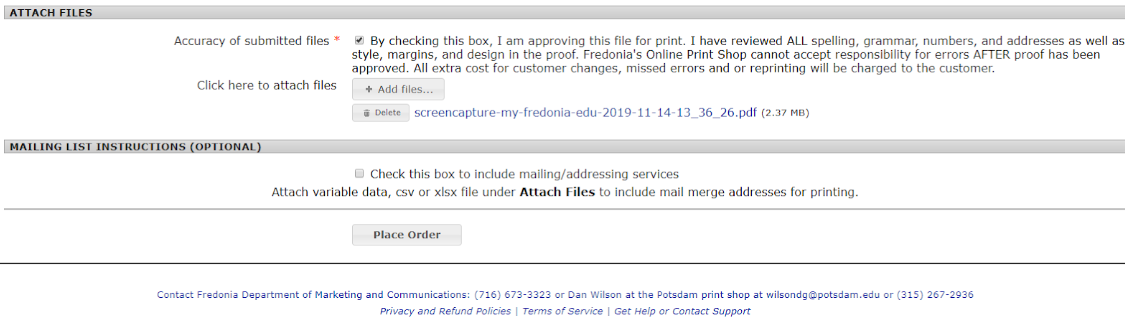
8). Finally, we ask you to acknowledge if there is an error on the file you’re submitting (misspelling, wrong date, etc), that the printer is not responsible for paying for a corrected re-print. You attach the file you’d like to print under “click here to attach files.” If you would like to take advantage of mailing/addressing services, attach that file as well and check the box.
When everything is filled out, click “place order” at the bottom.
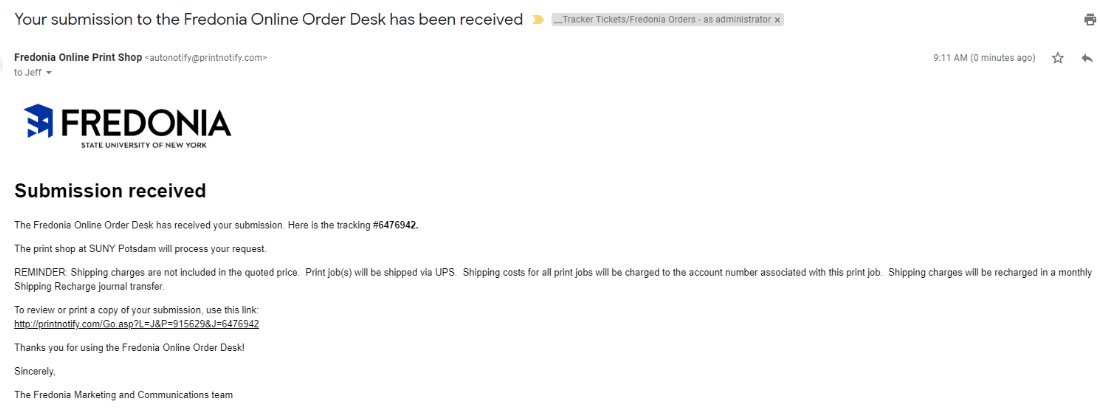
9). You will receive confirmation of your order two ways. First is the screen that pops up immediately, assigning your request a job number. That number can be used as a reference if there are any issues with your project. You can print this page if you’d like, or ……
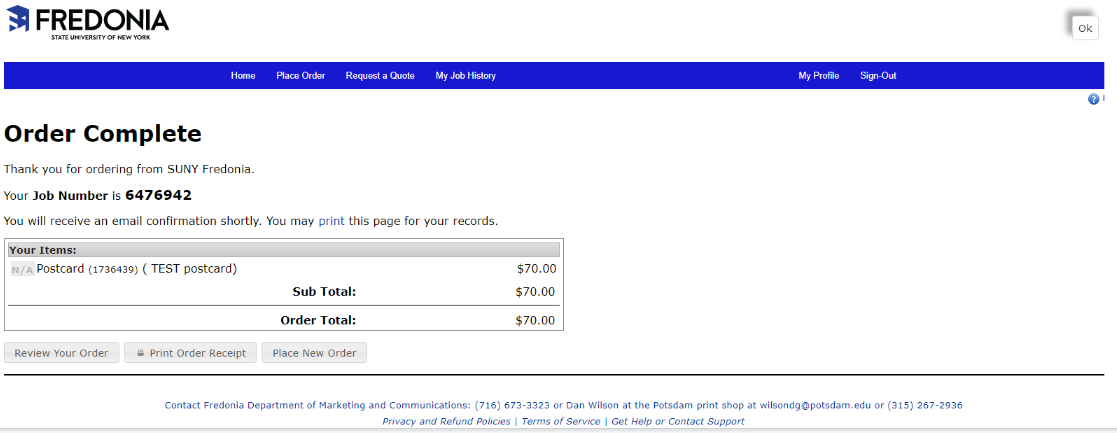
10). ... an email will be sent (to the email you used for your username) showing the same confirmation information.
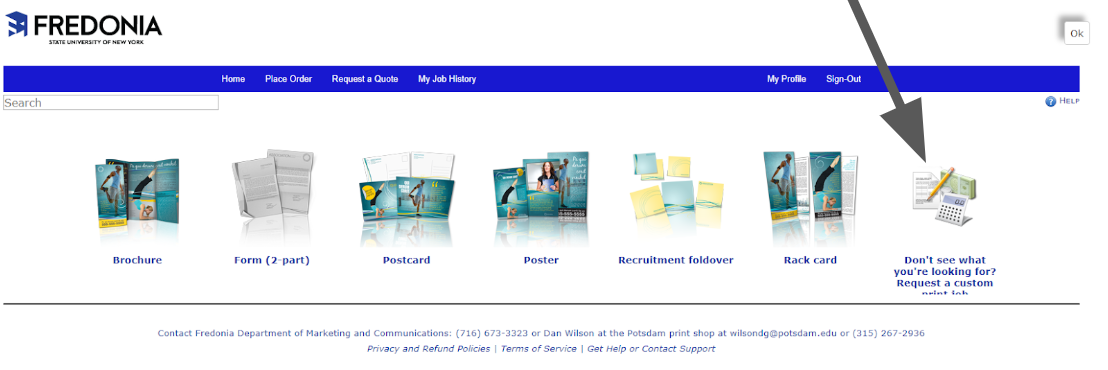
11). If you need something printed, but don’t see it on the main page as an option, select “Don’t see what you’re looking for? Request a custom print job.”
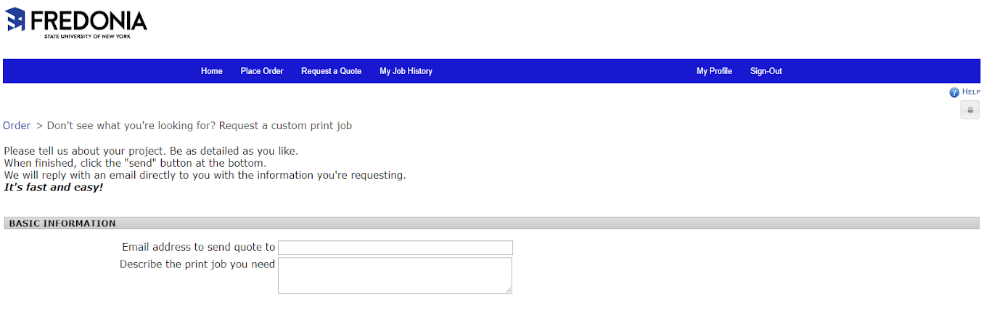
12). Fill out the email address you want the quote sent to, then describe the request with as much detail as possible.
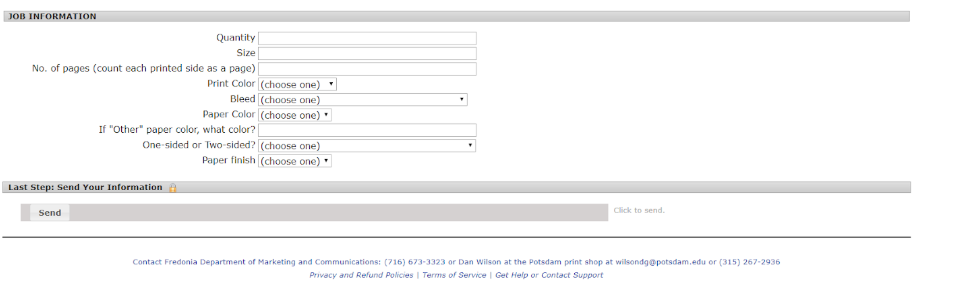
13). If you know the print information, fill it out, then click “send.” The print shop will email you back with the price of the job, and how to order.
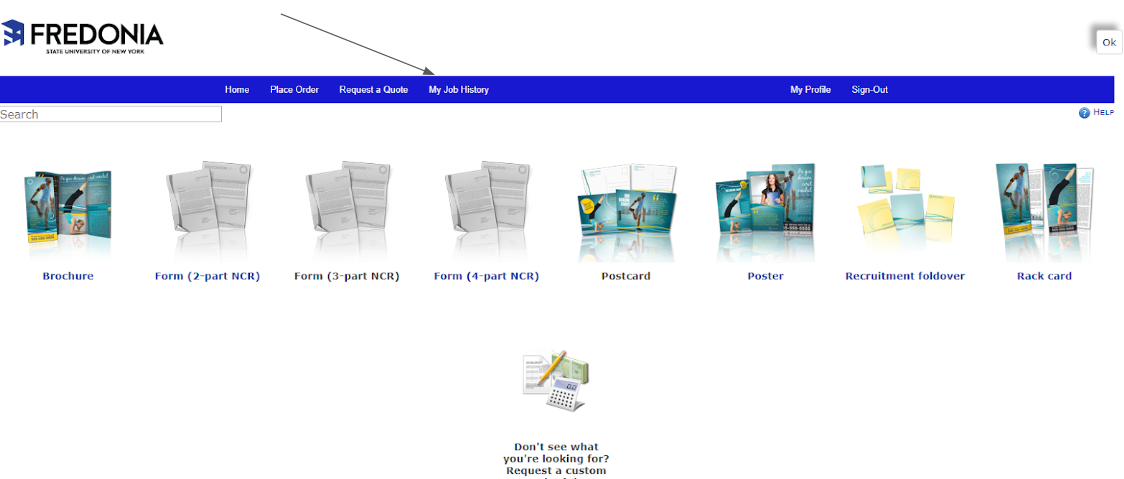
If you want to look back on any previous jobs you ordered, you can click “My Job History” in the top navigation bar.
14). Do you have a mailing list to use with your order? Here are the instructions on preparing the spreadsheet:
Related articles