Zoom Cloud Recordings are automatically imported into Panopto and then removed from the Zoom Cloud.
Your recording in Panopto will have the same name as the Zoom Meeting name used for the recording.
How do I access and share my Zoom Cloud Recordings in Panopto?
Step-by-step guide
- Sign Into Panopto using your Fredonia eServices account
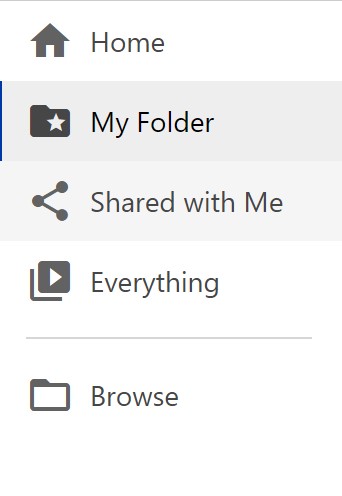
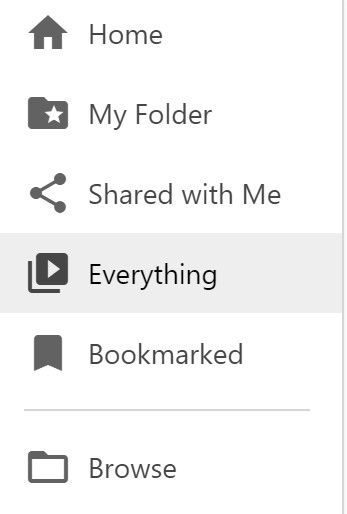
- In the left navigation bar click My Folder
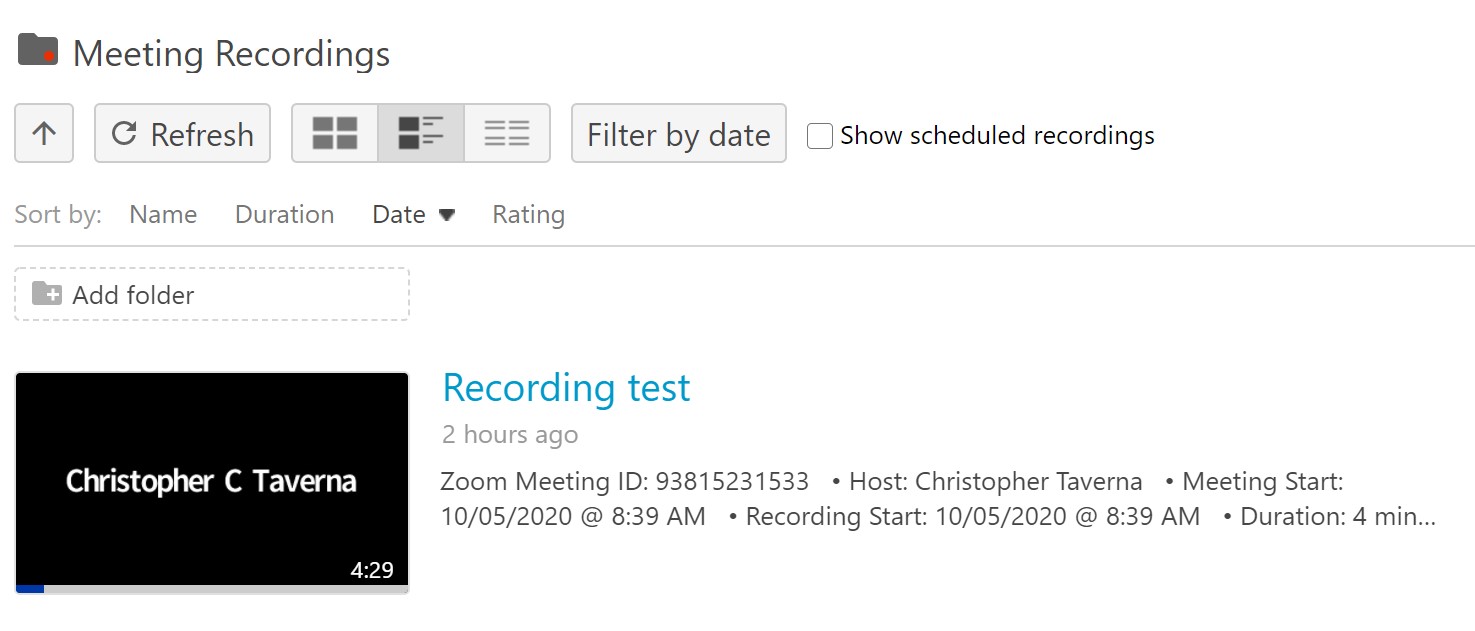
- In the folder listing of My Folder click Meeting Recordings. (All Zoom Cloud Recordings will go in to your Meeting Recordings folder automatically)
- You will see all of your recordings listed. To view a recording click on the preview or title of the recording you wish to view
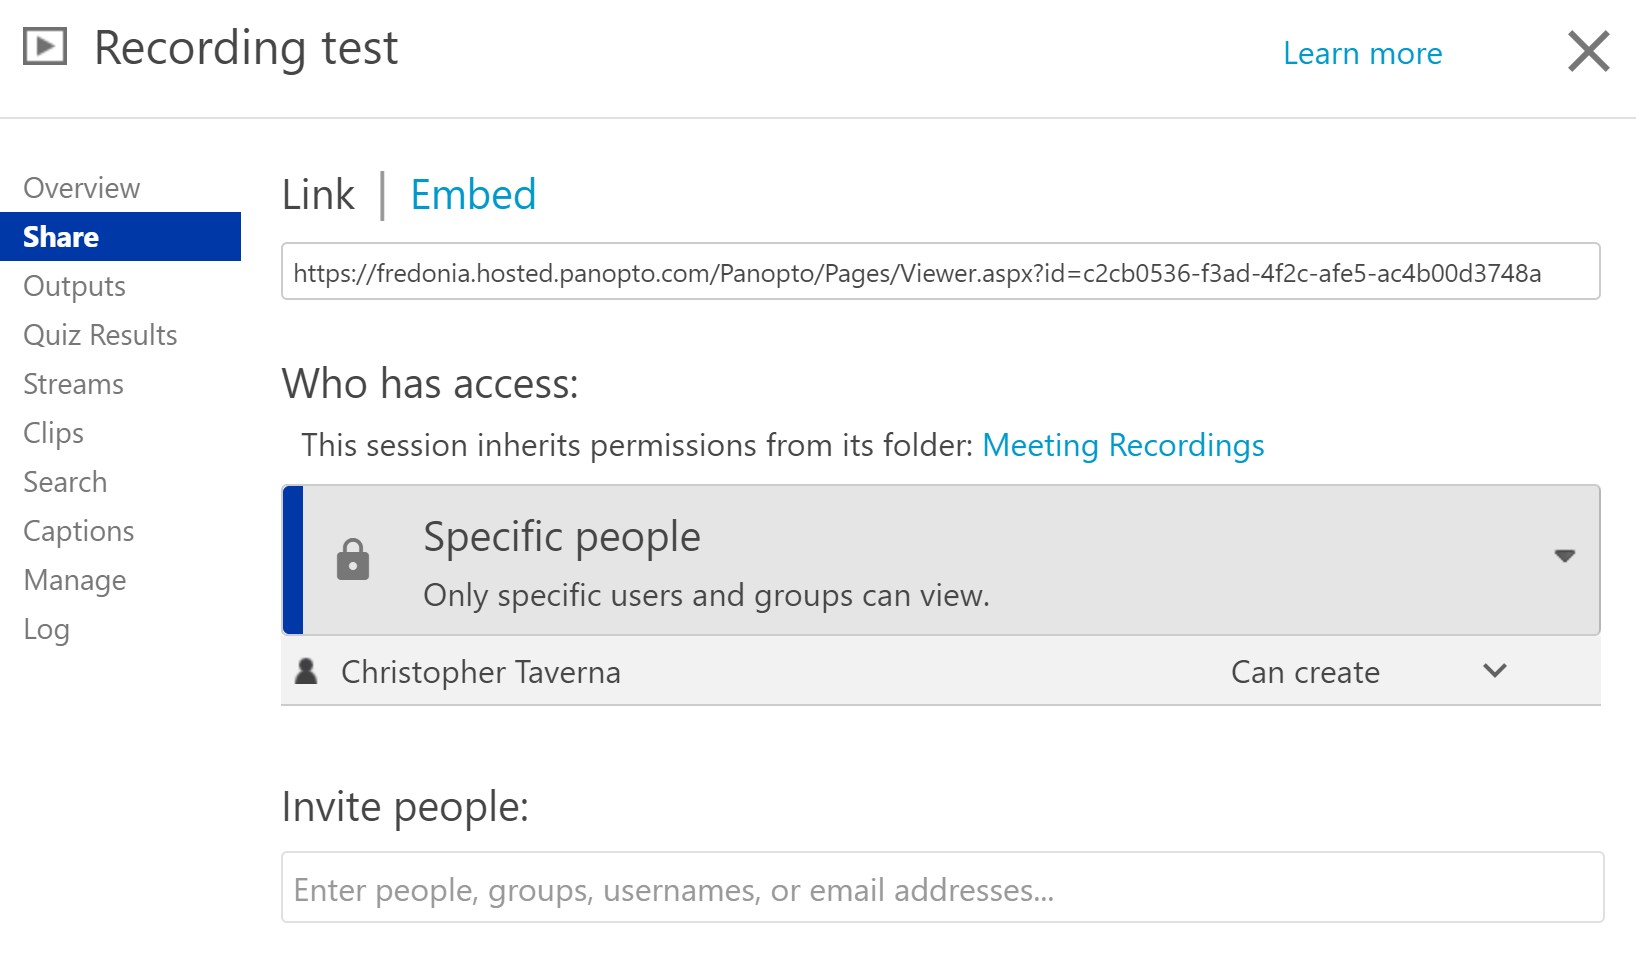
- If you wish to share a recording, hover over the recording you wish to share. Then click share on the pop-up menu.
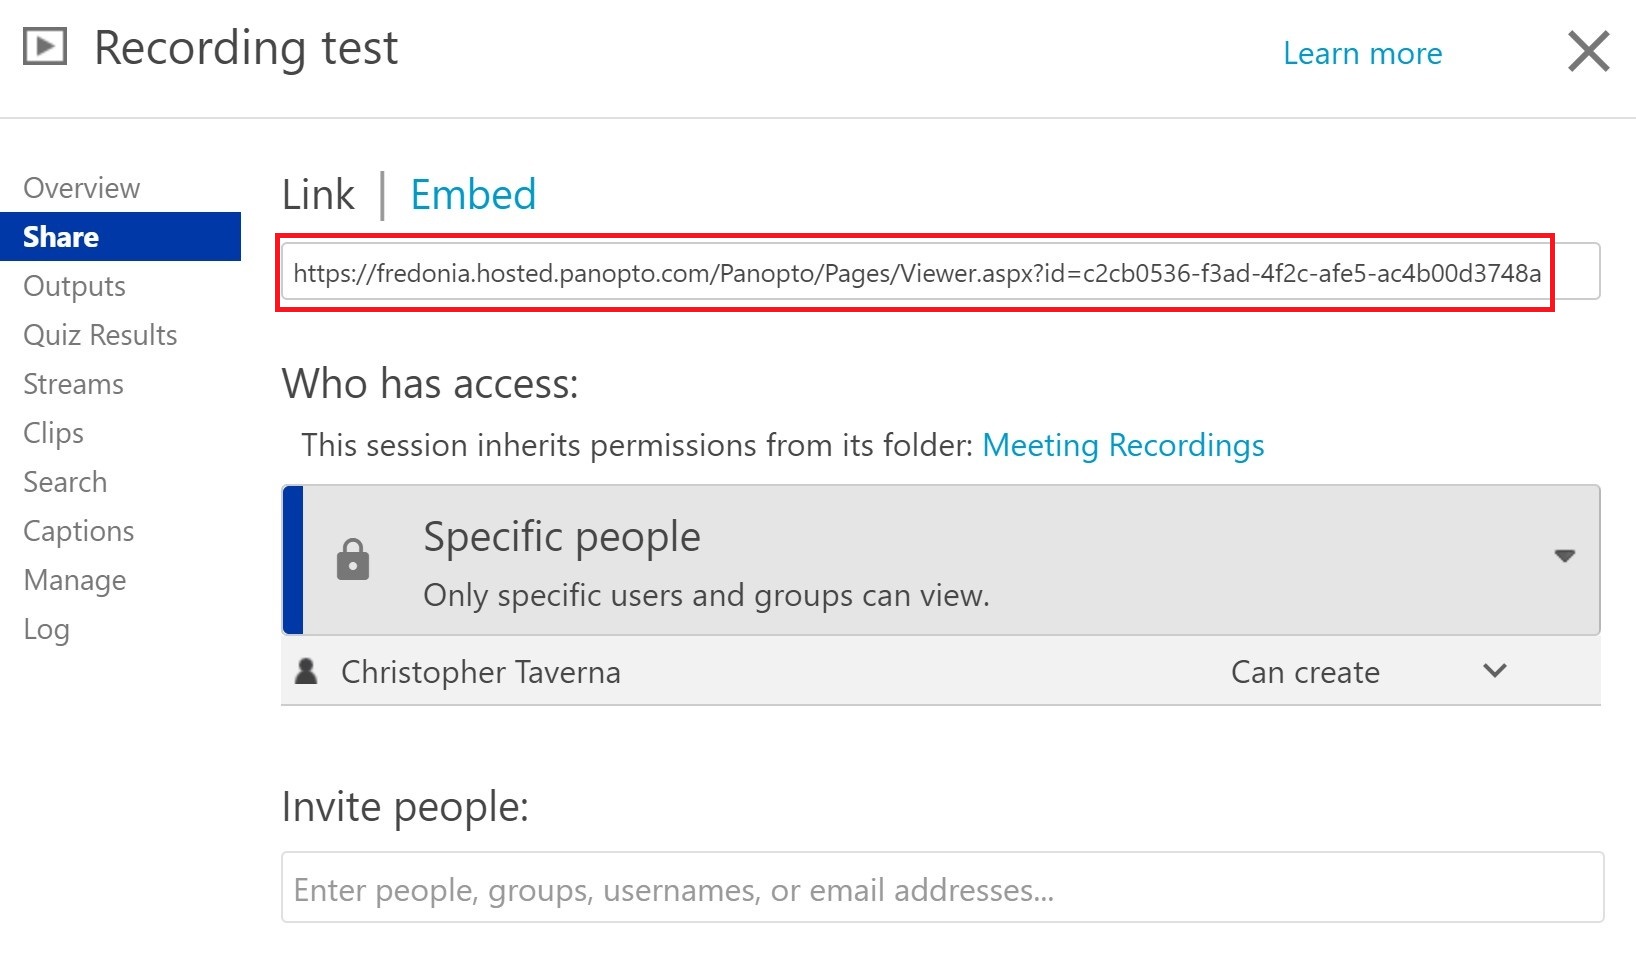
- You can share to specific people by adding them to the Invite People list:
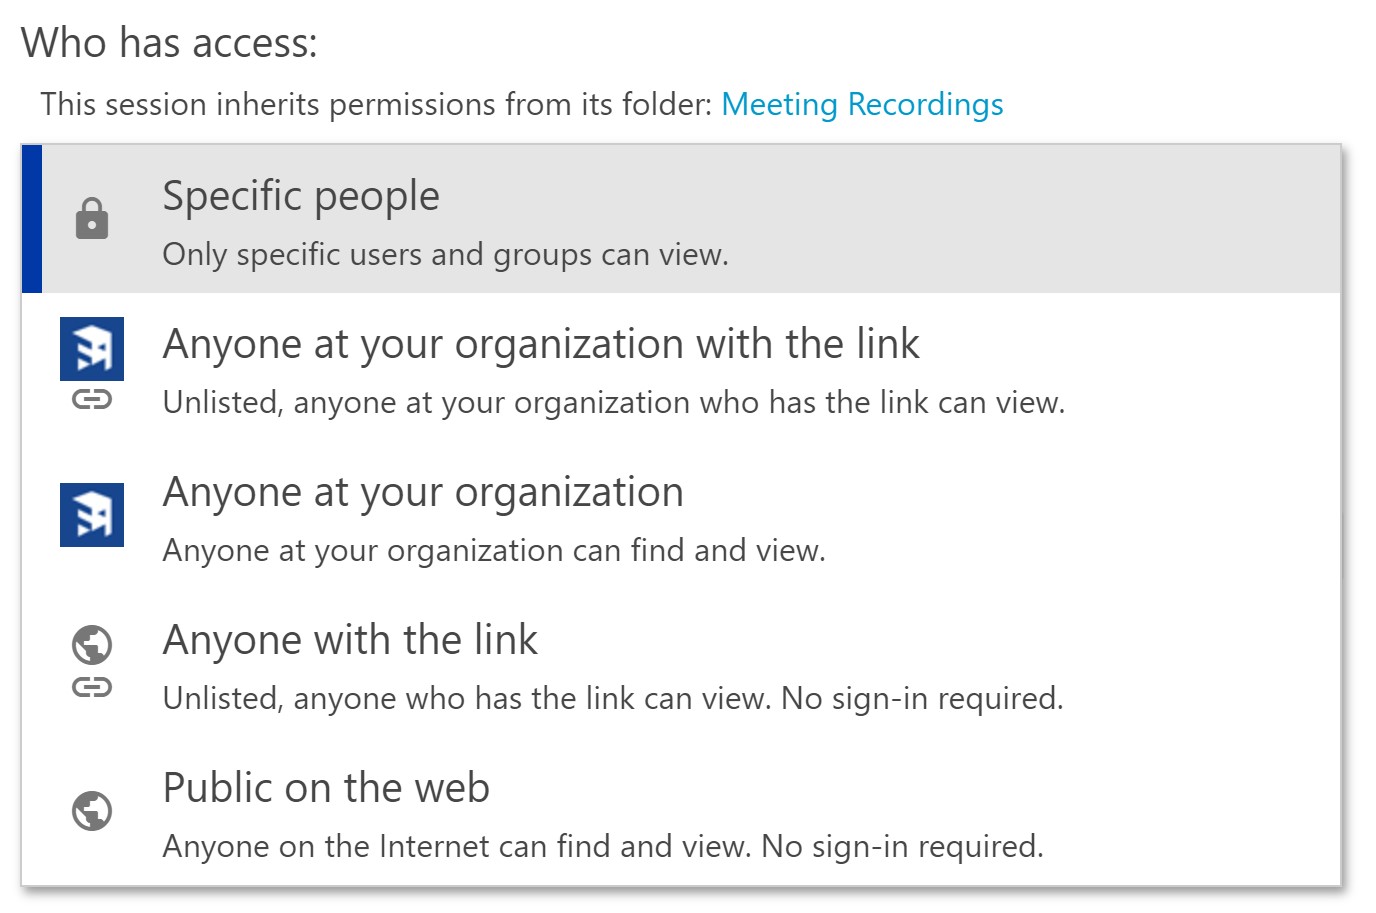
- You can share more broadly with link sharing by clicking the down arrow next to Specific People. Now make a selection from the list.
- To share Panopto recordings in OnCourse or elsewhere, copy the link and then paste the link into email, etc. If you would like to share this recording through OnCourse the link can be added using the URL tool. Information on how to Add a link (URL) in OnCourse is available through Answers.
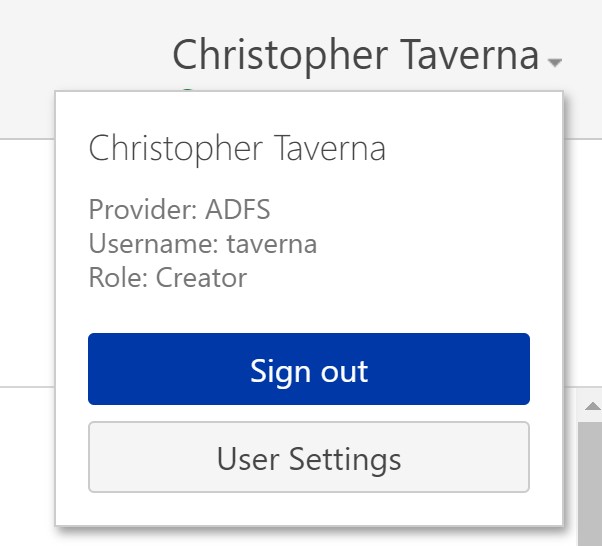
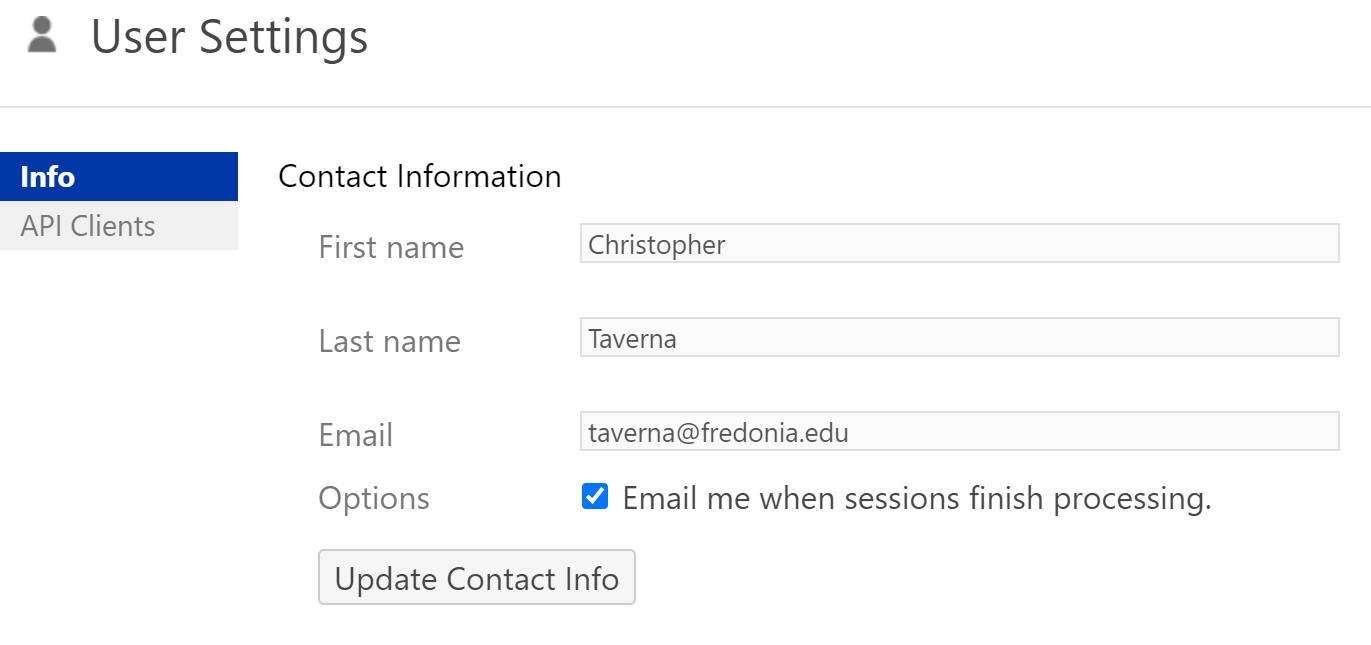
You can turn alerts on and off for new recordings by clicking on your name in the upper-right corner. Then select User Settings
Check or uncheck the box for "Email me when sessions finish processing" as desired. Then click the Update Contact Info button to save your choice.
Please note: The Everything view only shows everything that the logged on user has access to view. This does not include everything on the system.
Related articles
