/
Adding Zoom to FREDLearn
Adding Zoom to FREDLearn
- Laura Shrader
Owned by Laura Shrader
Last updated: Jan 19, 2024
How can I create a Zoom link for students to join for class?
Step-by-step guide
Below are the written directions for adding Zoom to FREDLearn.
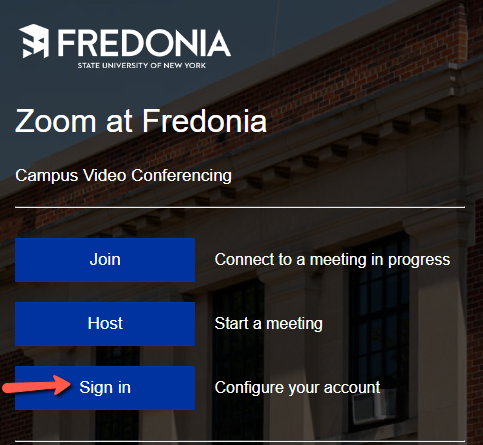
- Begin by launching a web browser and going to the Fredonia Zoom web portal.
- Click on the blue Sign In Button. If you are logged into FREDLearn, clicking Sign In will re-direct you to your Zoom Meetings page. If you are not logged into FREDLearn, you’ll need to enter your Eservices credentials to get signed in.
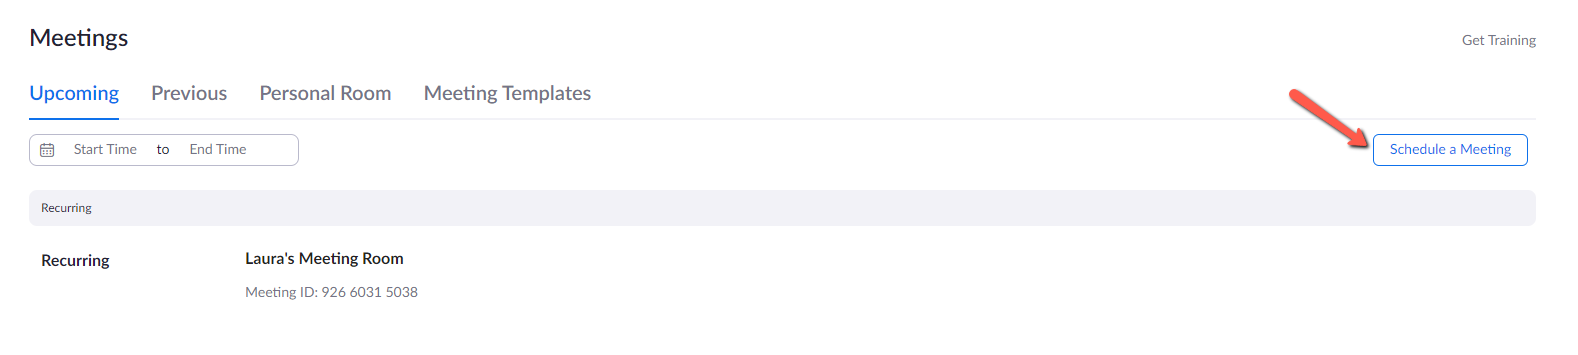
- Click on Schedule a Meeting.
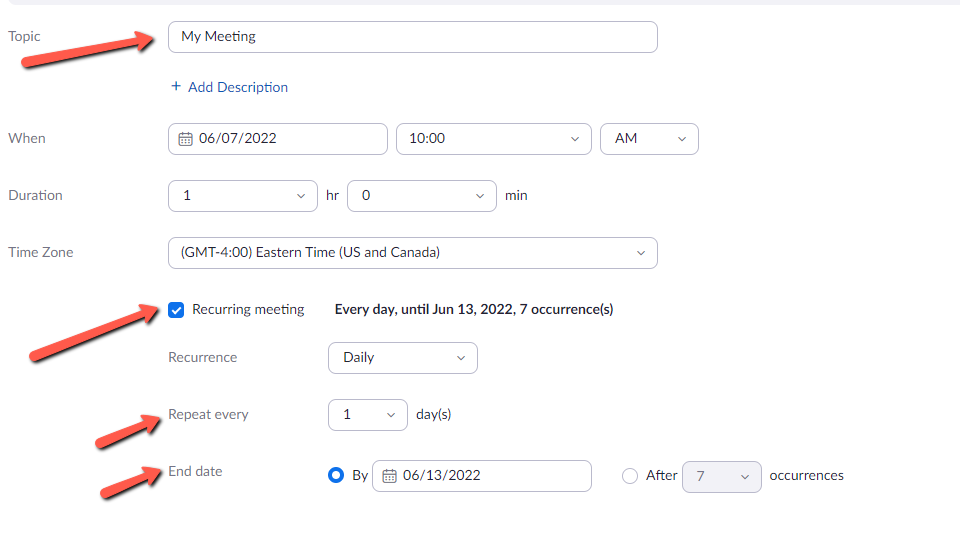
- Configure your meeting settings. Give your meeting a descriptive title. Choose the Date and Time that your meetings will begin. Choose Recurring Meeting and how often you want it repeated. Next, choose an End date. You can choose an end date, or number of occurrences. This will allow you to create one Zoom link that can be used throughout the semester.
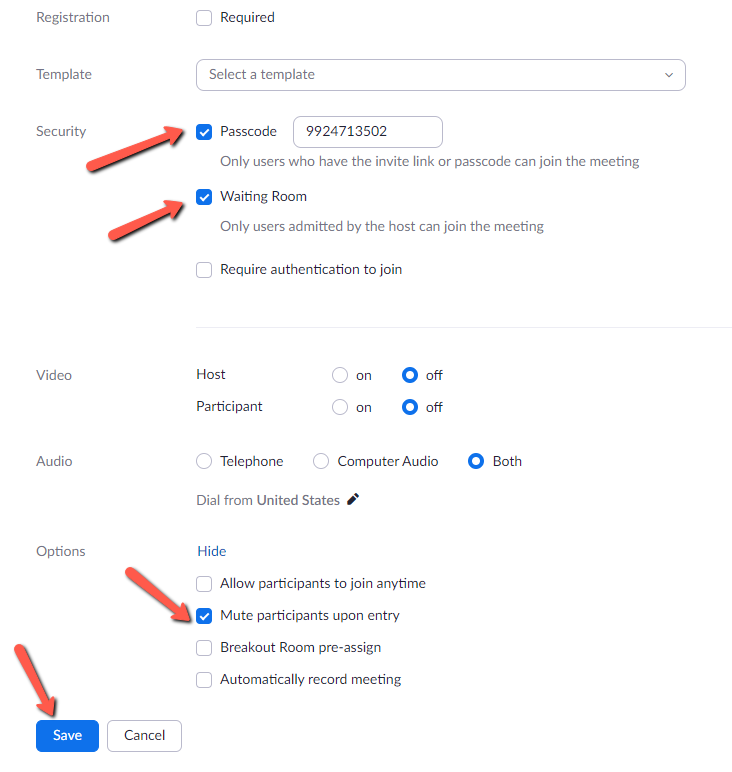
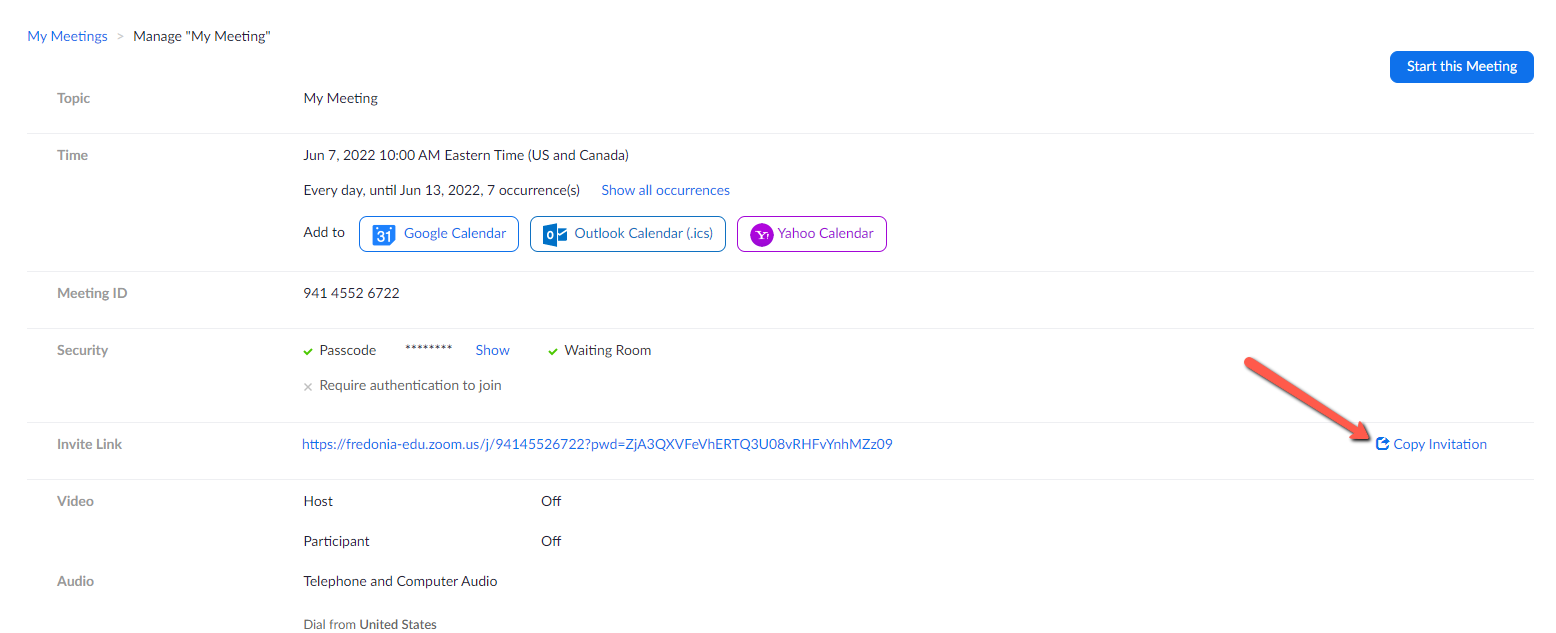
- Finish configuring your settings. Leave the default settings enabled for Passcode, Waiting Room and Mute participants upon entry. Scroll down and click the blue Save button when you are done configuring your settings.
- You’ve now created your Zoom meeting. It’s now important that you copy the invitation and share it in FREDLearn using the "Create a File (Webpage)" tool. Click on the Copy Invitation button to get started. This copies the invitation to your computer’s clipboard.
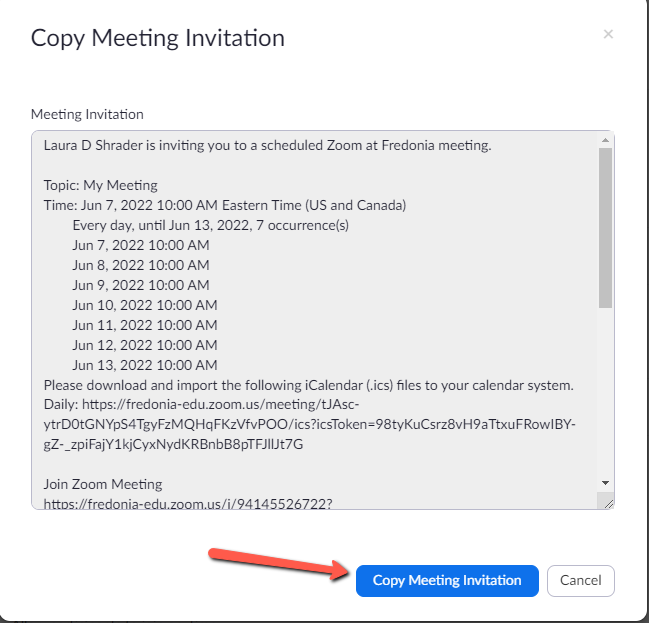
- A dialogue box opens. Press on the blue Copy Meeting Invitation button.
Creating a Page in FREDLearn and Pasting a Zoom Invitation
- From your FREDLearn homepage, navigate to the course in which you need to add the page with the Zoom invitation. Open the course.
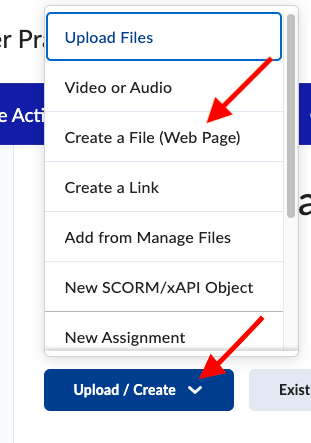
- Follow the Answers Documentation on Adding and Editing a Page in FREDLearn. A page in FREDLearn is created using the Create a File (Webpage) tool. Press the Upload/Create button to get started.
- We recommend adding this page to your Course Information area of your course since students will be accessing the same Zoom link repeatedly throughout the duration of the course.
- Configure the settings of the page. We recommend giving the page a descriptive title that communicates to students that they need to open this page to get the join information and link for the Zoom meetings.
- In the Page content field paste the Zoom invitation that you copied from the Fredonia Zoom Web Service site. This invitation contains not only the Zoom link for students to click on to join the Zoom session, but also the Meeting ID and Password. This is important because a student can use the Meeting ID and Password in the Zoom app as an alternate way to join the class session.
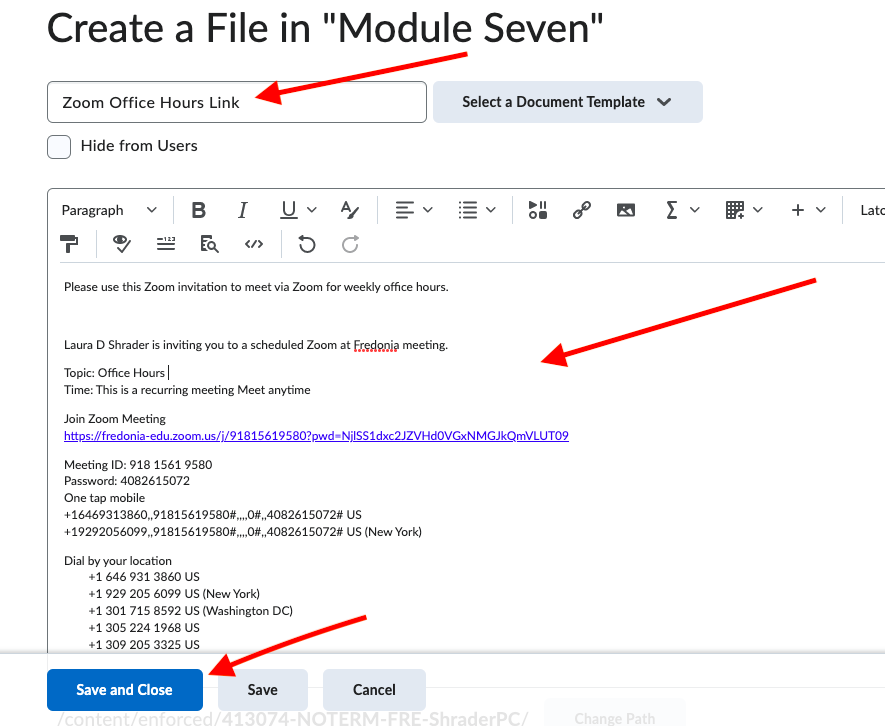
5. When you are done pasting the Zoom invitation. Scroll down the page and click on Save and Close.
Starting a Zoom Meeting
- When it’s time to start your meeting, login to the Fredonia Zoom web portal.
- On your Upcoming meetings screen, navigate to the meeting you wish to start and click on the blue Start button.
HINTS
- Zoom meetings must be started from either the Fredonia Zoom Web Portal or the Zoom App. Both ways require the instructor to login using EServices credentials.
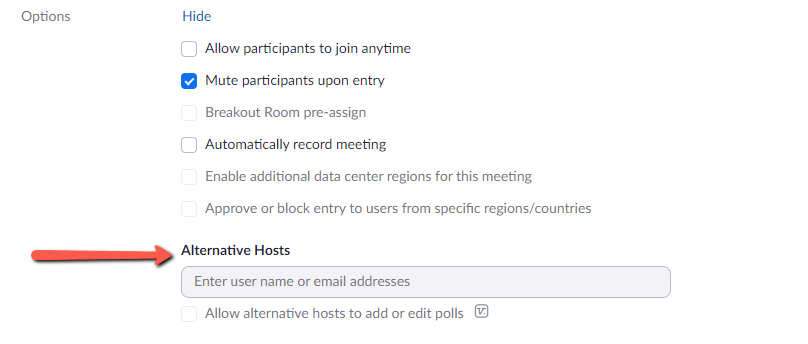
- If you need to assign an Alternative host, enter the person’s email address in the Alternative host field. Alternative hosts can start Zoom meetings. Click the blue Save button to save your changes.
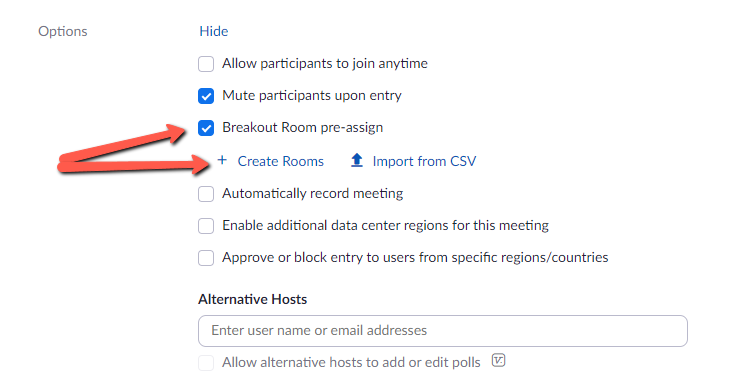
- If you want to pre-assign the breakout rooms, under Options check the box for Breakout Room pre-assign. You can create them manually or import a CSV file.
Related articles
Filter by label
There are no items with the selected labels at this time.
, multiple selections available,
Related content
Limiting Zoom Meetings to Only Fredonia Participants
Limiting Zoom Meetings to Only Fredonia Participants
More like this
Zoom Security Settings
Zoom Security Settings
More like this
Adding and Editing a Page in FREDLearn
Adding and Editing a Page in FREDLearn
More like this
How can I join a Zoom meeting?
How can I join a Zoom meeting?
More like this
Adding an Assignment in FREDLearn
Adding an Assignment in FREDLearn
Read with this